Snowflake Integration
To access a database with your Snowflake account, create a system user in Snowflake with access to the database you want to connect to. Then, create a Snowflake data source (using MarkovML connectors) and provide the system user credentials.
Here's how you can achieve this:
Step 1: Create a Read-Only Role in Snowflake
Let’s say you want to connect with a database called RUDDERSTACK_EVENT_DATA_FOR_QUICKSTART.
Use the following queries on Snowflake to create a new role with read-only access:
-- Connect as an account admin
USE ROLE ACCOUNTADMIN;

-- Create a new role for read-only access
CREATE ROLE RUDDERSTACK_READONLY_ROLE;

-- Grant privileges to use the database
GRANT USAGE ON DATABASE RUDDERSTACK_EVENT_DATA_FOR_QUICKSTART TO ROLE RUDDERSTACK_READONLY_ROLE;

-- Grant privileges to use all schemas in the database
GRANT USAGE ON ALL SCHEMAS IN DATABASE RUDDERSTACK_EVENT_DATA_FOR_QUICKSTART TO ROLE RUDDERSTACK_READONLY_ROLE;

-- Grant SELECT privilege on all existing tables
GRANT SELECT ON ALL TABLES IN DATABASE RUDDERSTACK_EVENT_DATA_FOR_QUICKSTART TO ROLE RUDDERSTACK_READONLY_ROLE;

-- Grant SELECT privilege on all existing views
GRANT SELECT ON ALL VIEWS IN DATABASE RUDDERSTACK_EVENT_DATA_FOR_QUICKSTART TO ROLE RUDDERSTACK_READONLY_ROLE;

-- Set up future grants for tables
GRANT SELECT ON FUTURE TABLES IN DATABASE RUDDERSTACK_EVENT_DATA_FOR_QUICKSTART TO ROLE RUDDERSTACK_READONLY_ROLE;

-- Set up future grants for views
GRANT SELECT ON FUTURE VIEWS IN DATABASE RUDDERSTACK_EVENT_DATA_FOR_QUICKSTART TO ROLE RUDDERSTACK_READONLY_ROLE;
Step 2: Create a system user
-- Create the system user
CREATE USER RUDDERSTACK_SYSTEM_USER
  PASSWORD = 'StrongPassword123!'  -- Choose a strong, unique password
  DISPLAY_NAME = 'Rudderstack System User'
  COMMENT = 'System user for read-only access to Rudderstack data'
  MUST_CHANGE_PASSWORD = FALSE;  -- System user doesn't need to change password on first login
Step 3: Grant the role to the user
-- Grant the read-only role to the user
GRANT ROLE RUDDERSTACK_READONLY_ROLE TO USER RUDDERSTACK_SYSTEM_USER;

-- Set as default role for the user
ALTER USER RUDDERSTACK_SYSTEM_USER SET DEFAULT_ROLE = RUDDERSTACK_READONLY_ROLE;

-- Grant Warehouse to the role
GRANT USAGE ON WAREHOUSE COMPUTE_WH TO ROLE RUDDERSTACK_READONLY_ROLE;
Step 4: Verify the setup
-- Verify user creation
SHOW USERS LIKE 'RUDDERSTACK_SYSTEM_USER';

-- Verify role creation
SHOW ROLES LIKE 'RUDDERSTACK_READONLY_ROLE';

-- Verify grants on the role
SHOW GRANTS TO ROLE RUDDERSTACK_READONLY_ROLE;

-- Verify the user's role assignment
SHOW GRANTS TO USER RUDDERSTACK_SYSTEM_USER;
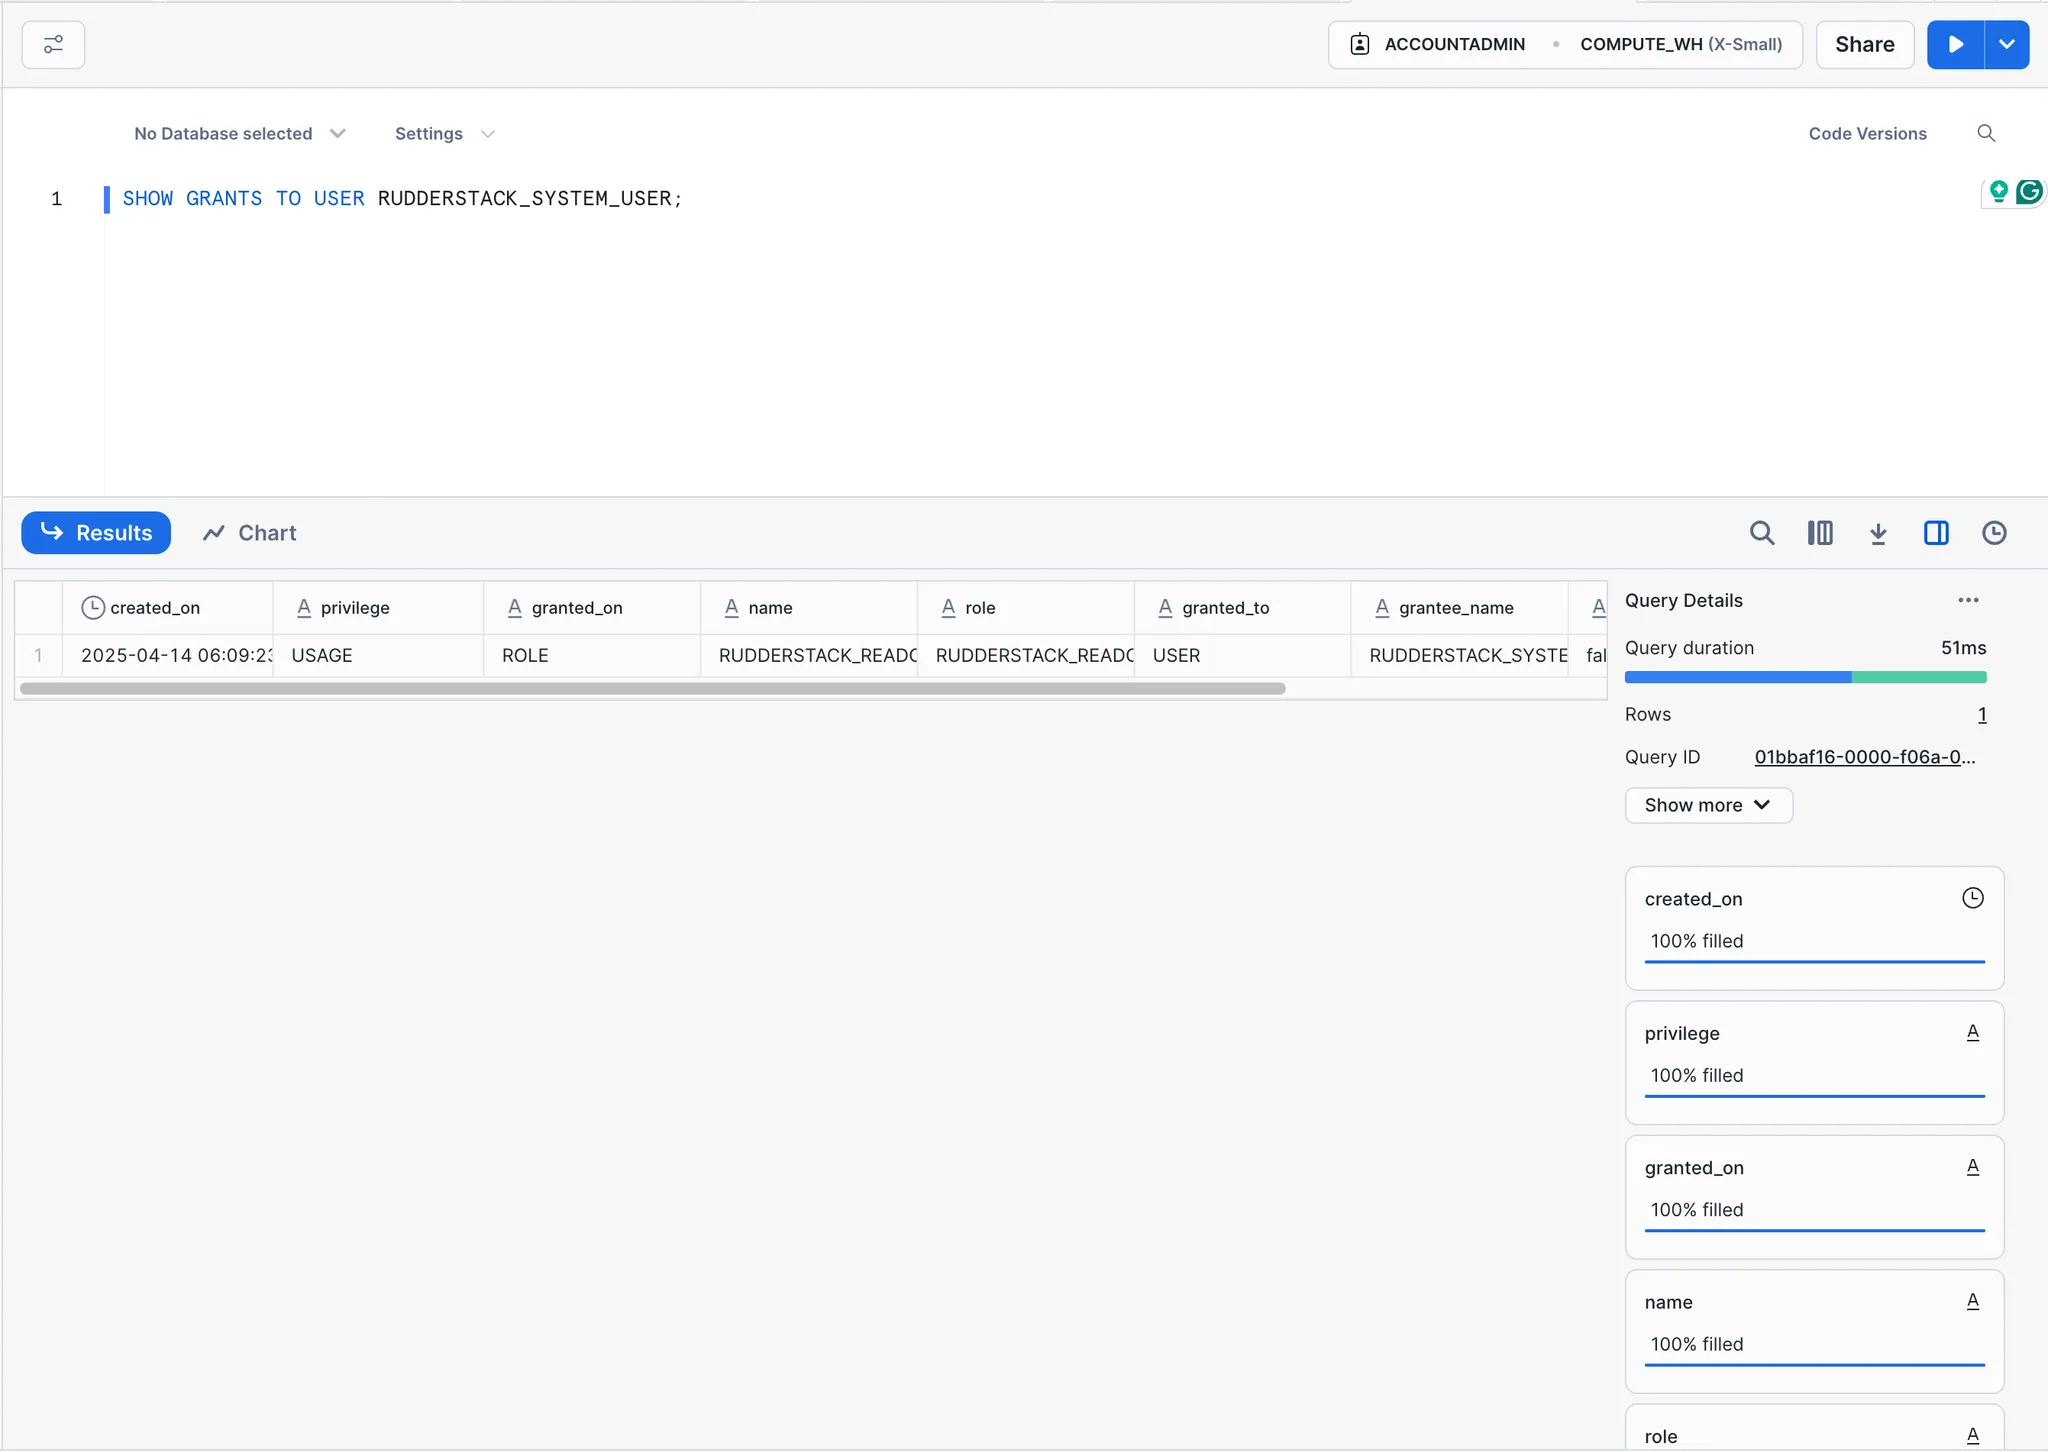
You have now created a system user on Snowflake that has read-only access to Rudderstack.
Integrate Snowflake with MarkovML
Now that you have a Snowflake user with access to Rudderstack, you can connect Snowflake to the MarkovML platform for further data-related activities like Data Insights or as an operation in the Workflow Builder.
Let’s say you want to connect Snowflake to Data Insights. Here's how you can do this:
Step 1: Click on Start a new chat
Start a new chat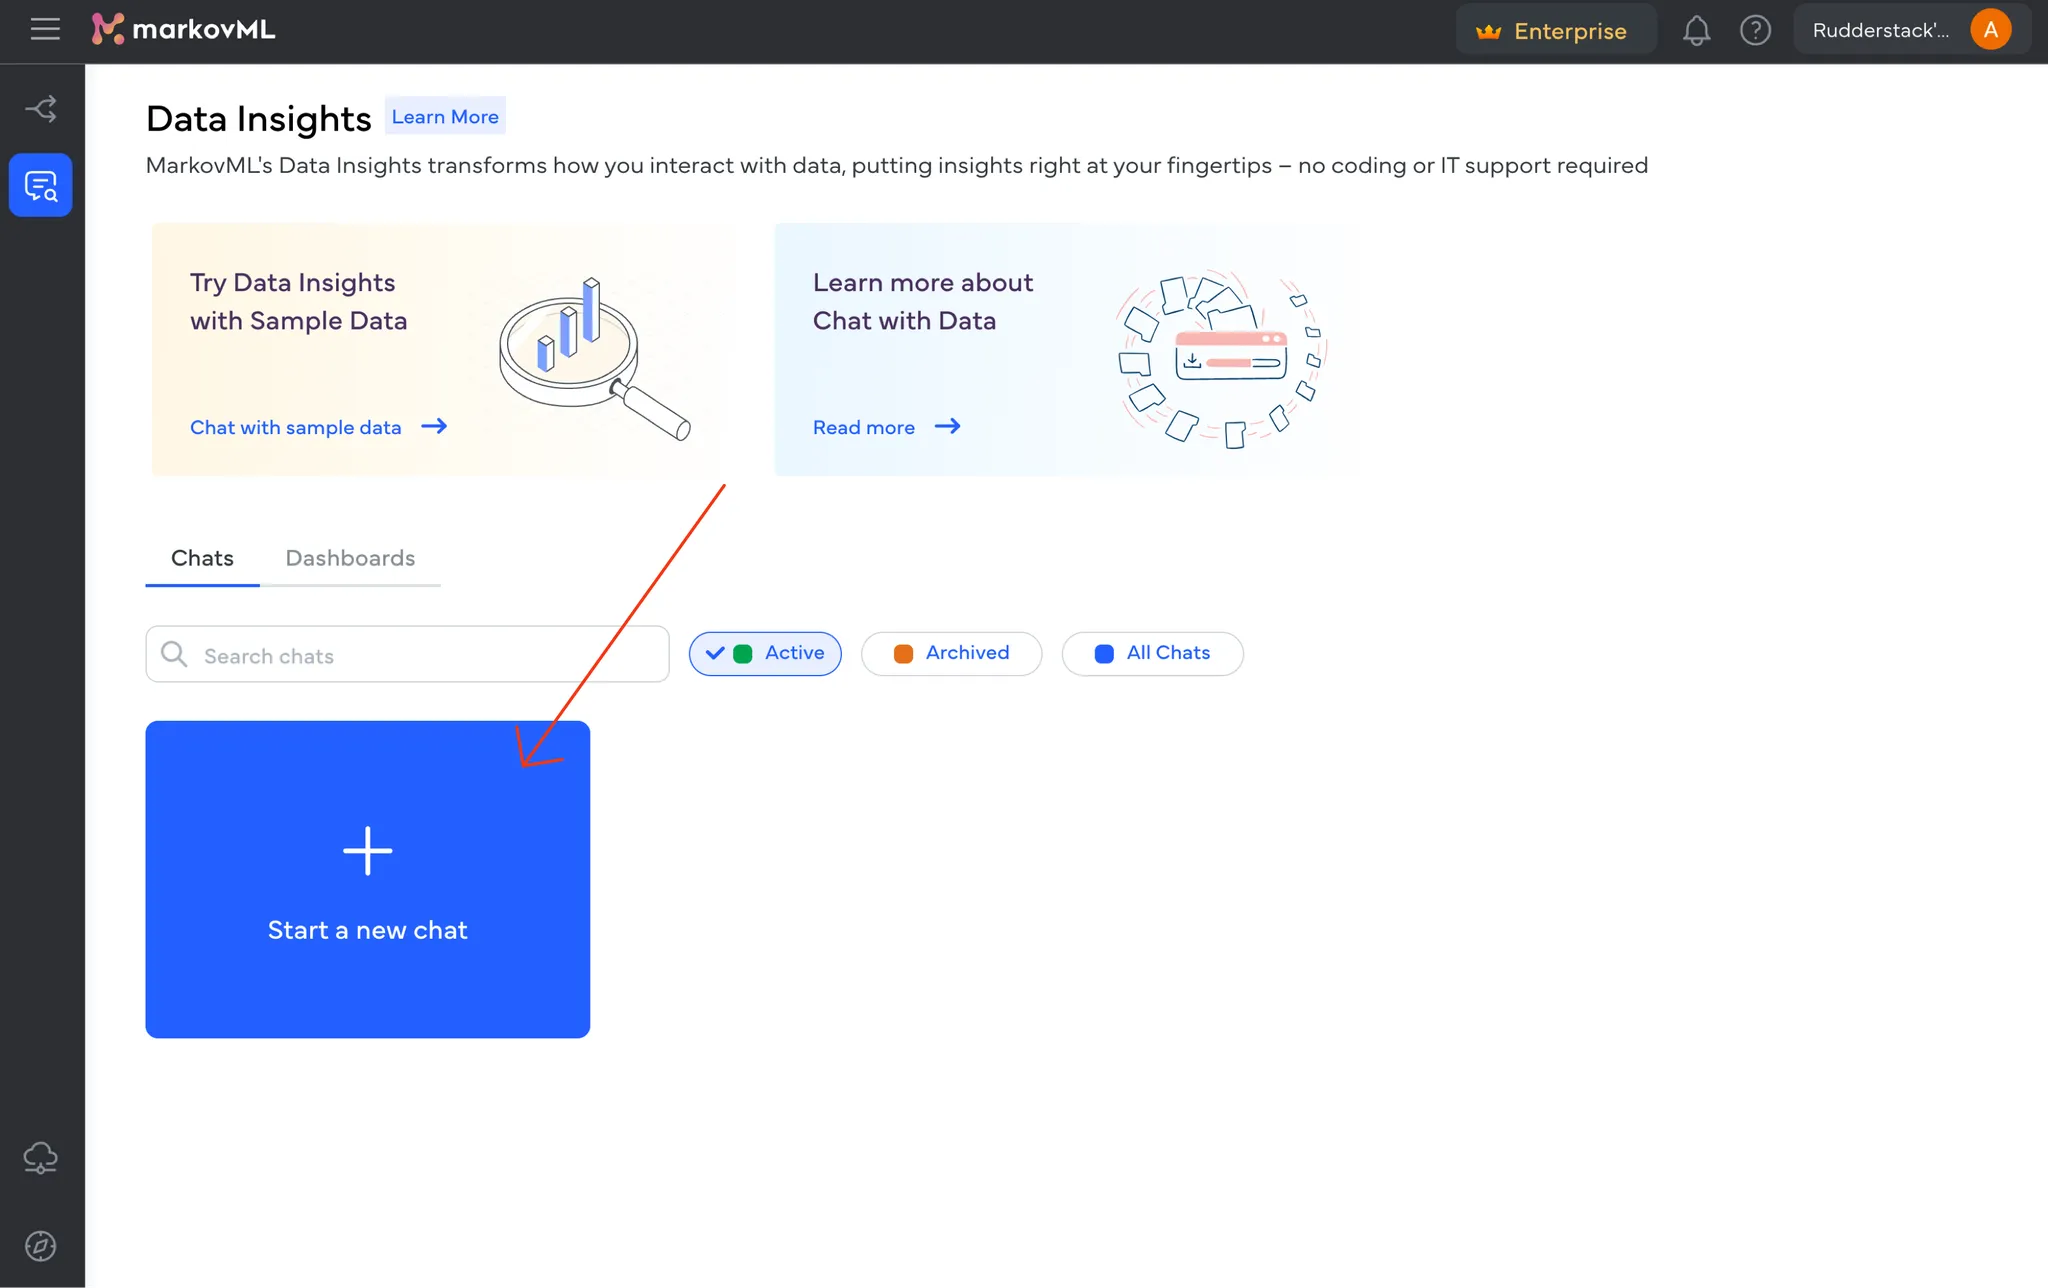
Step 2: Click on Use Integration
Use Integration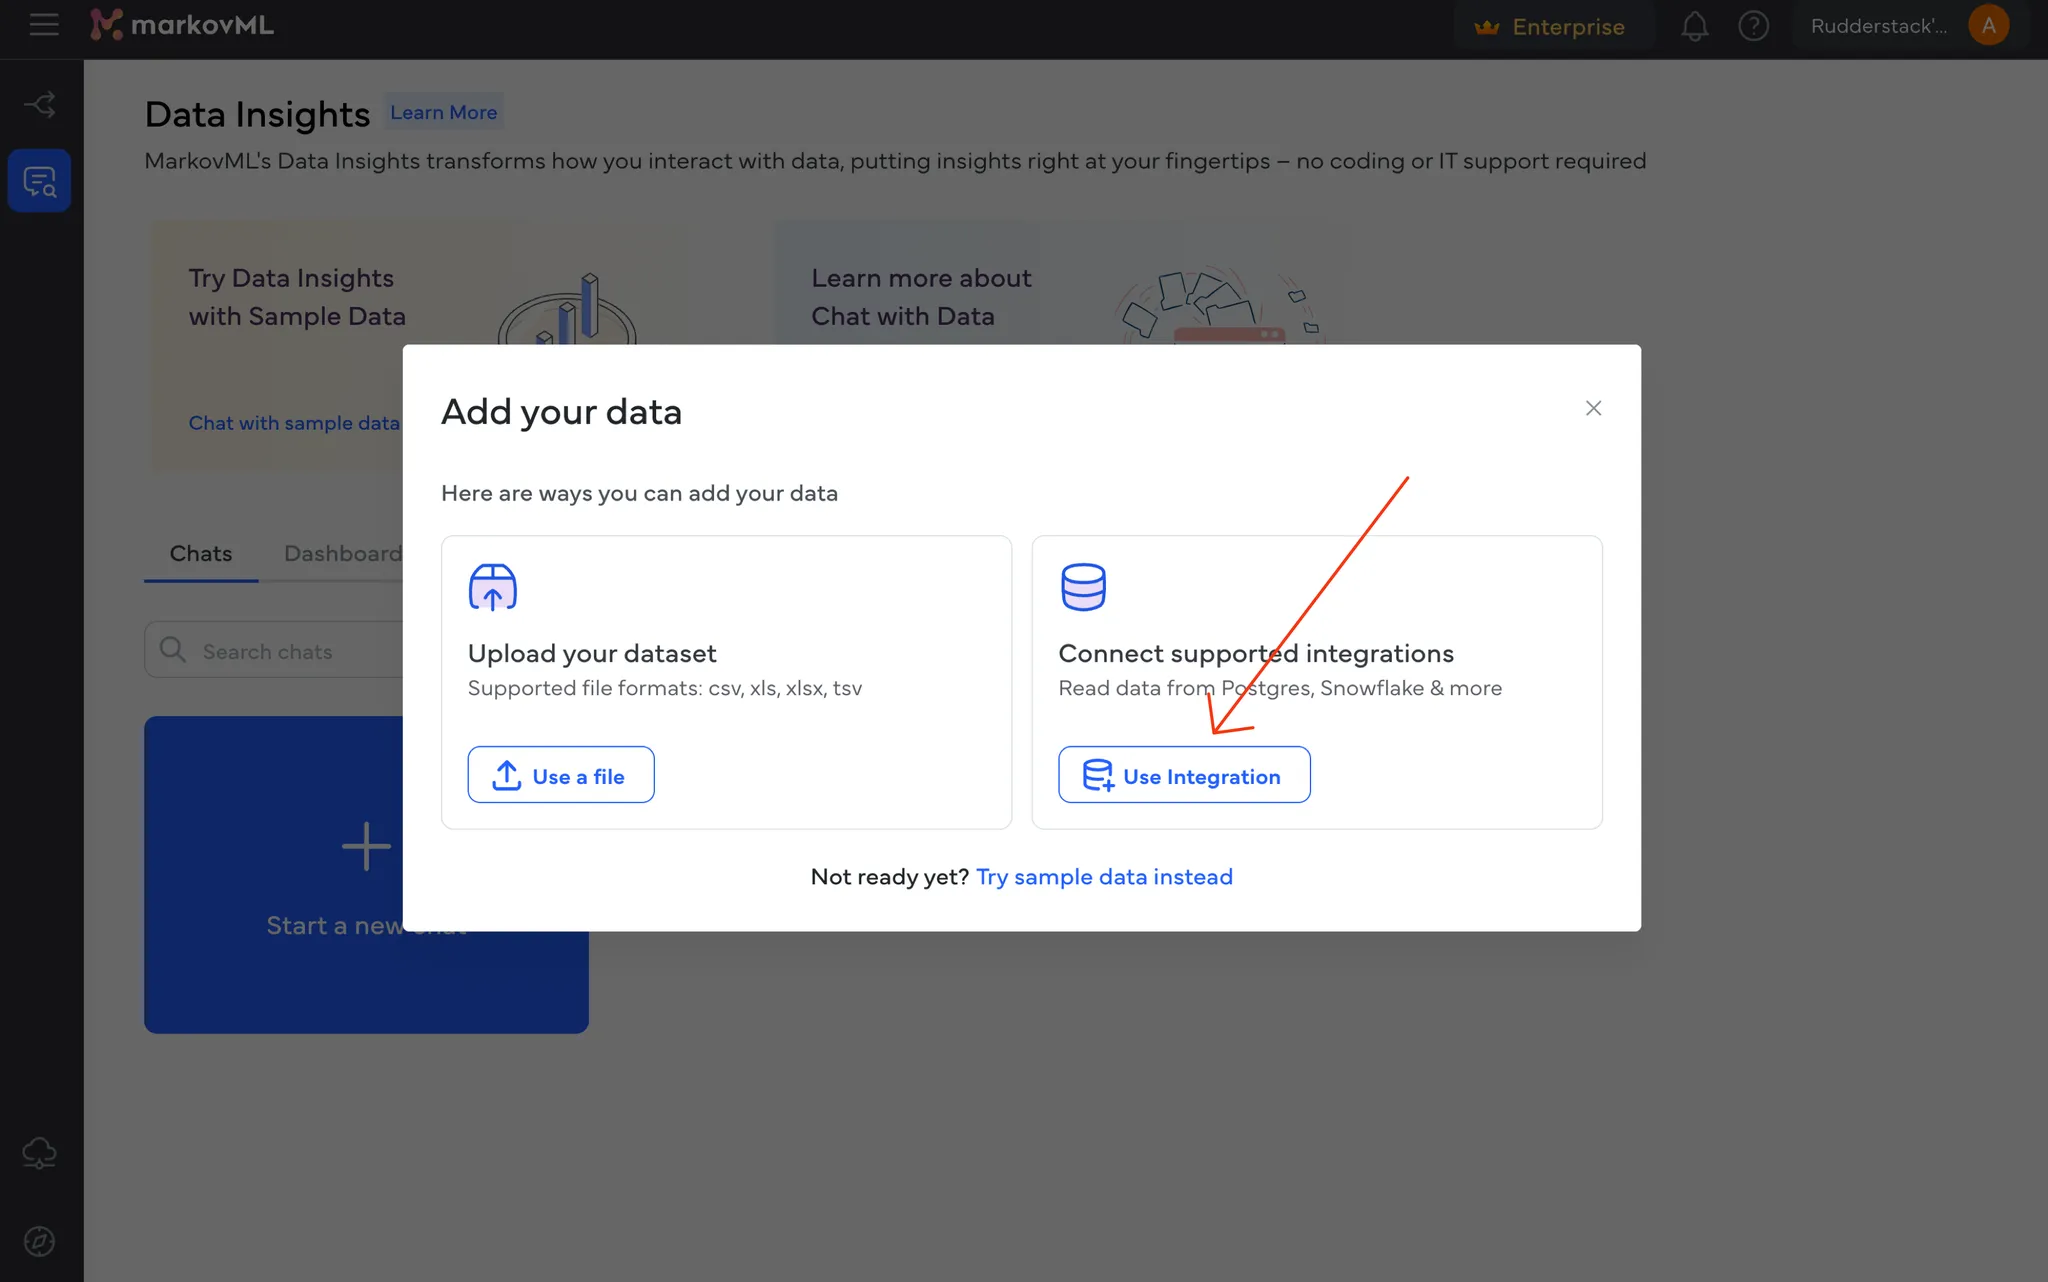
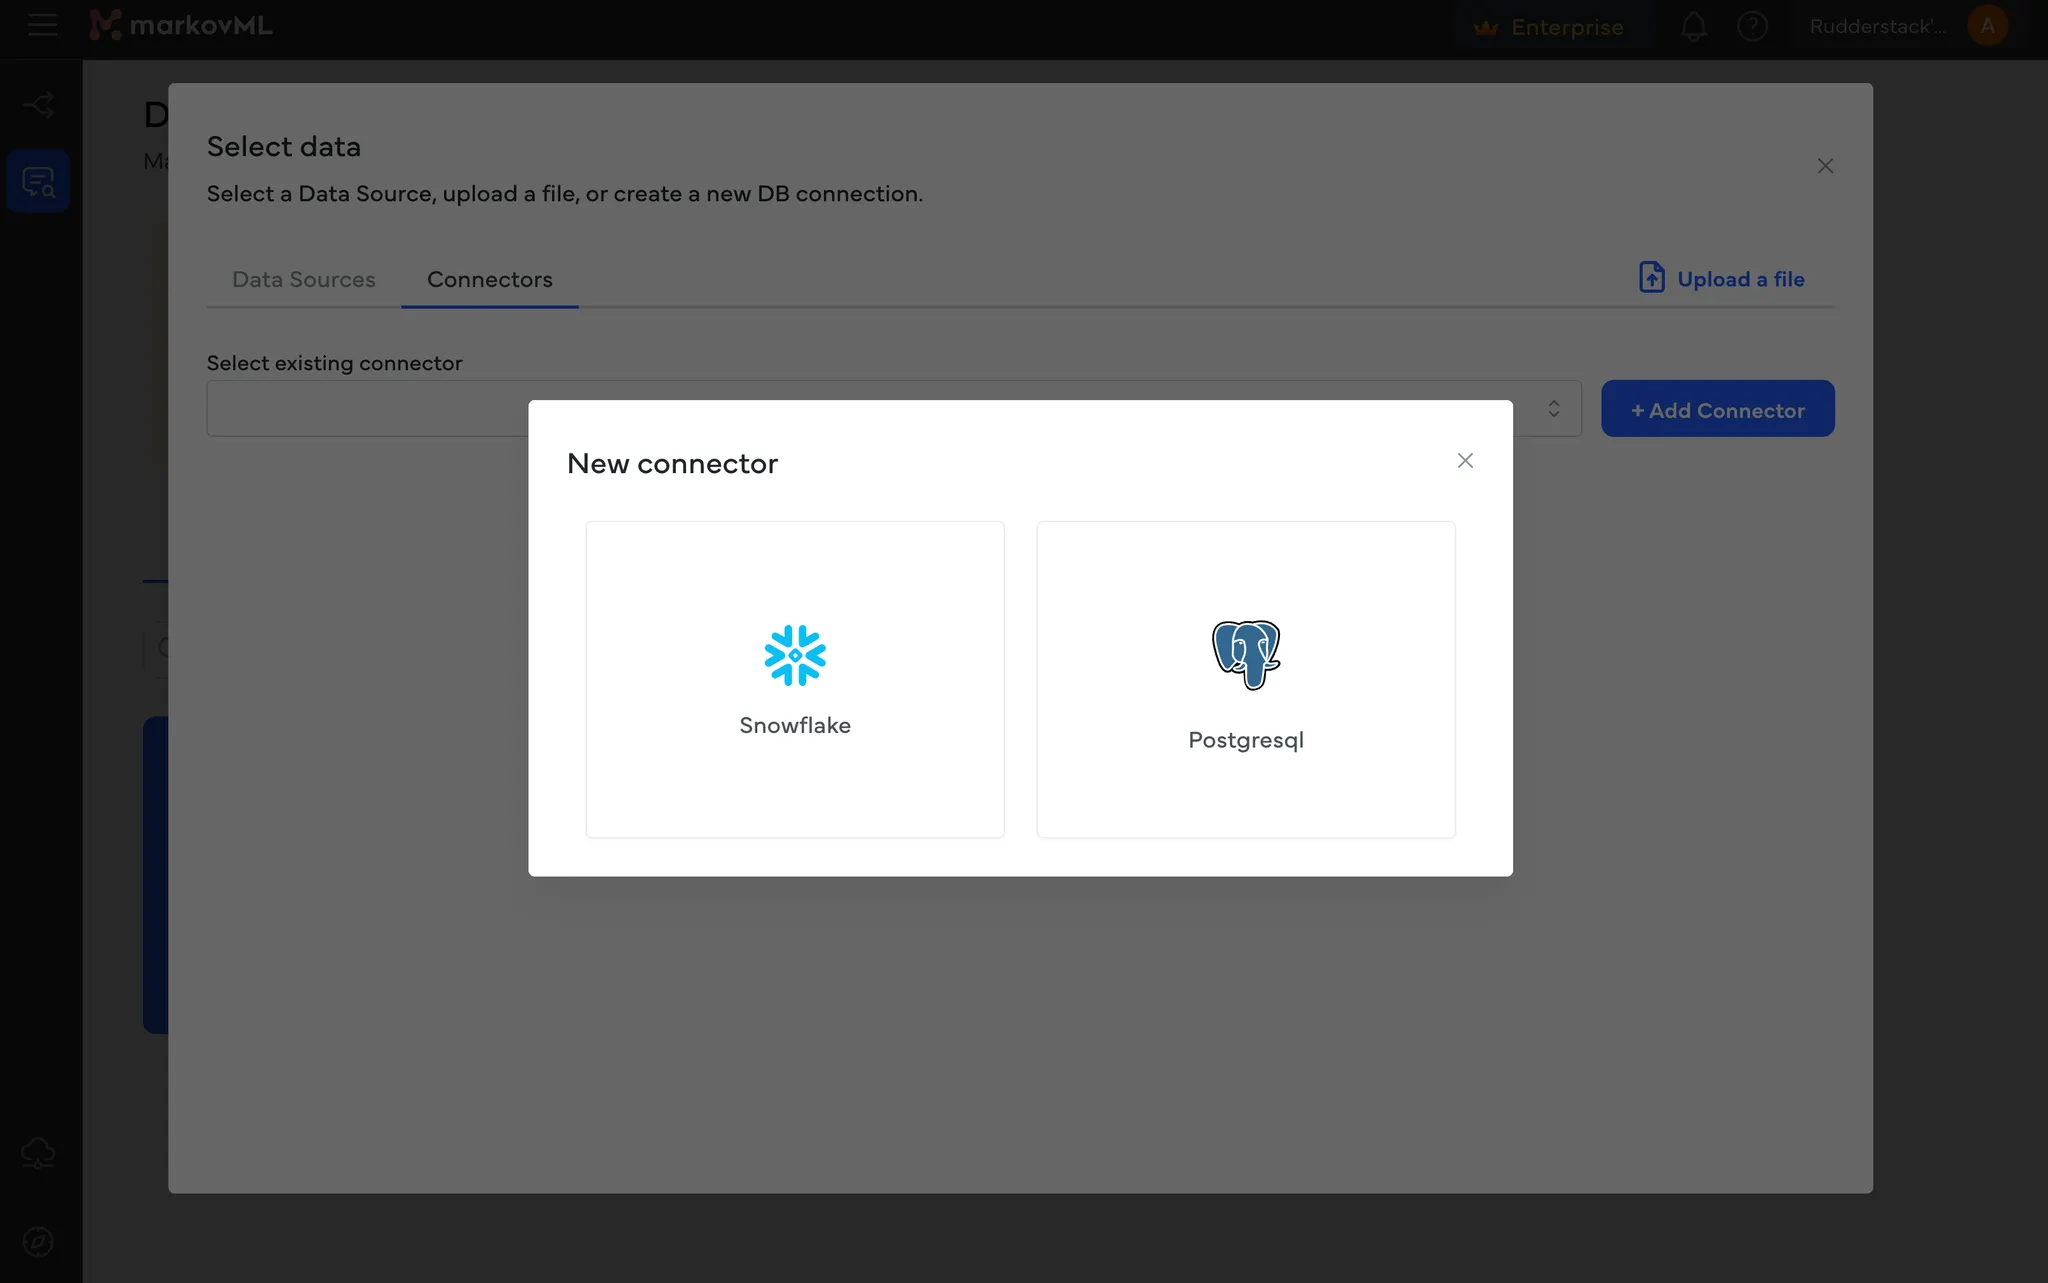
Step 3: Navigate to the Connectors tab and click on Add Connector
Connectors tab and click on Add Connector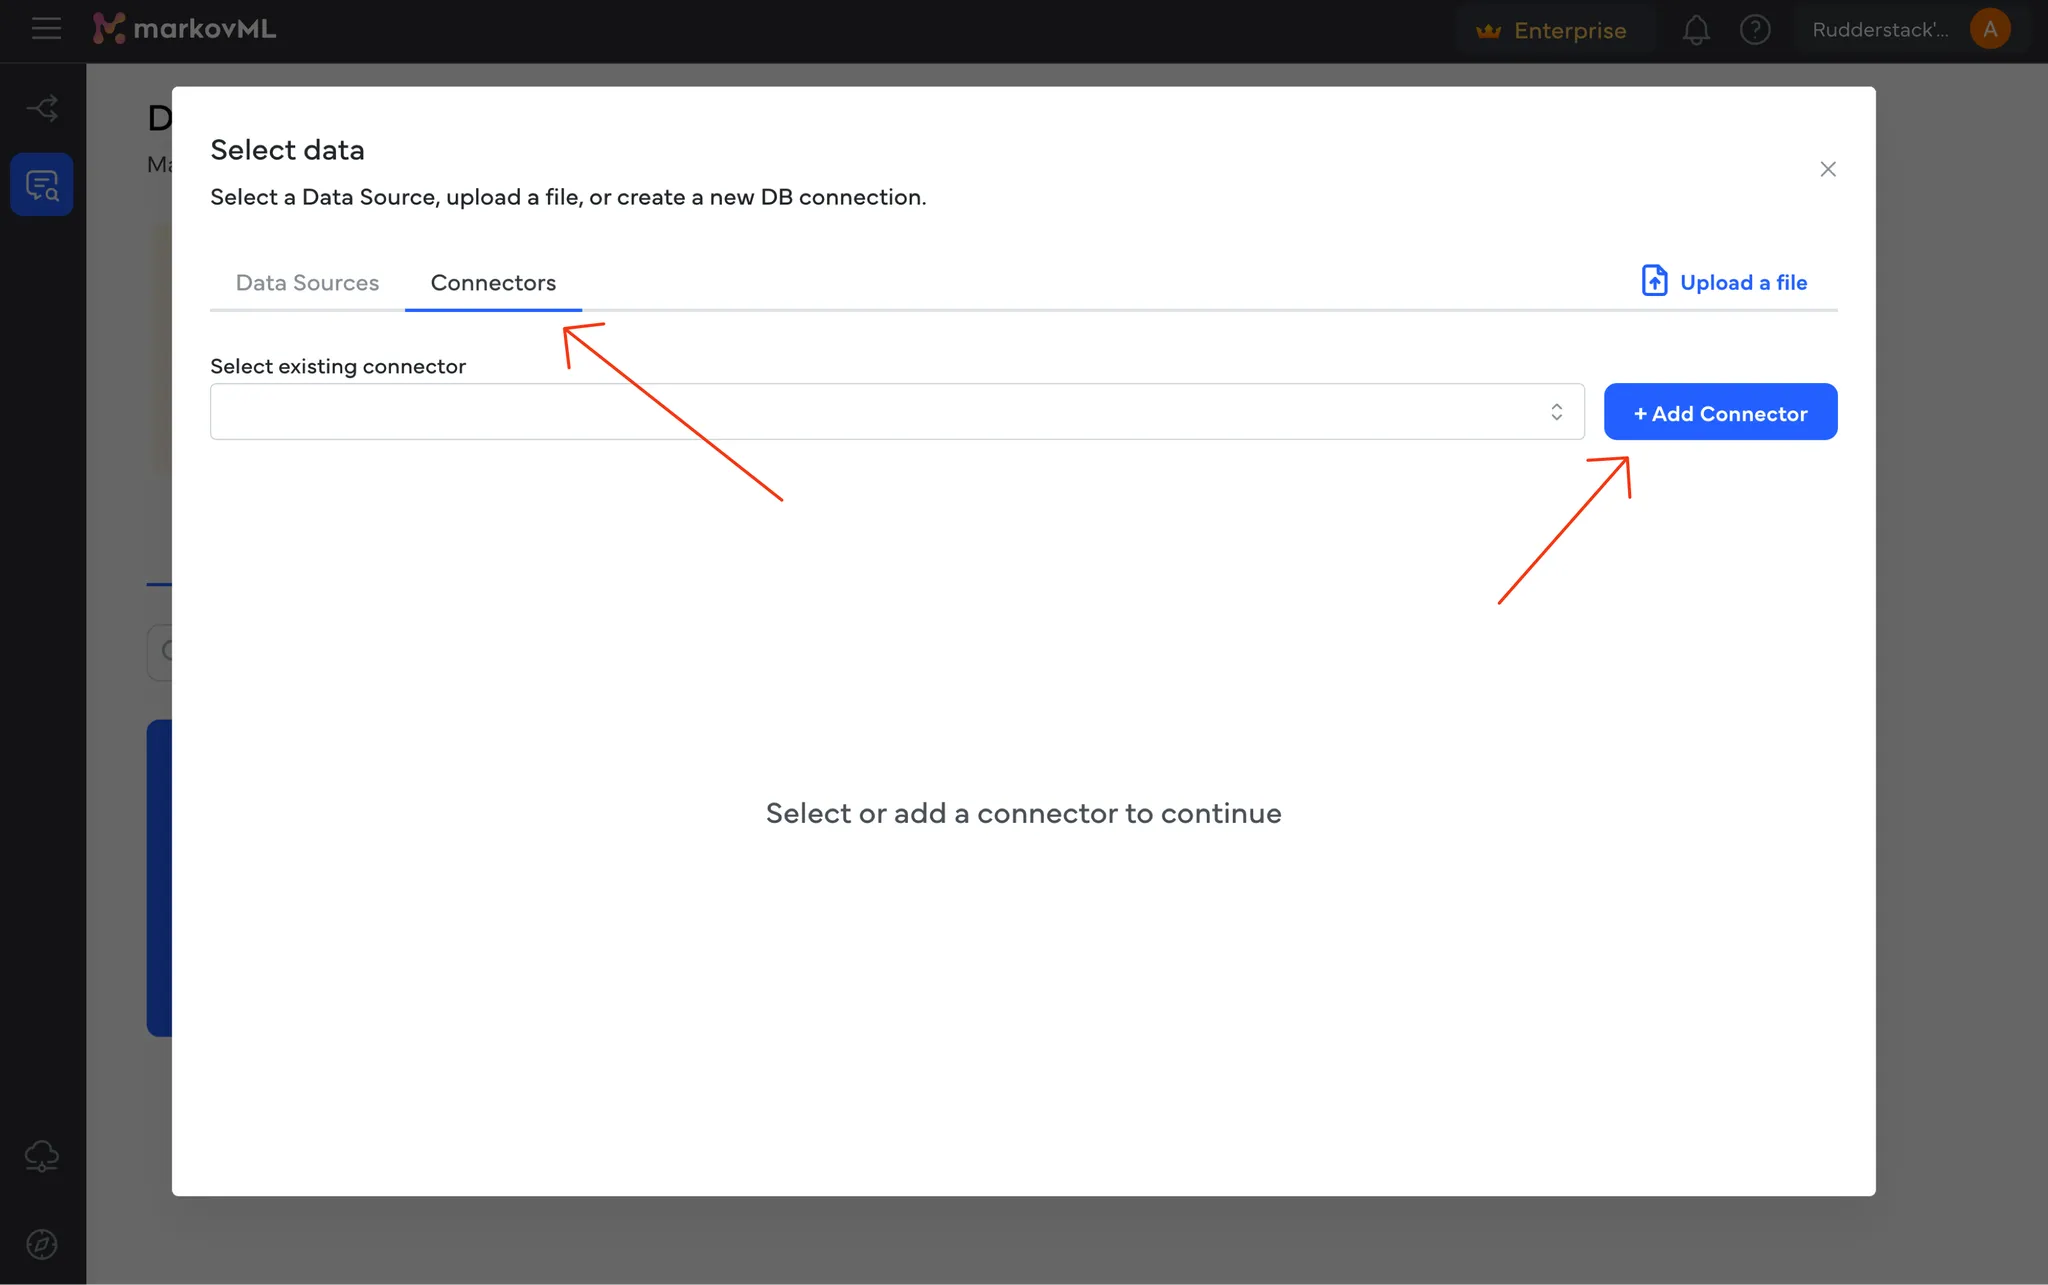
Step 4: Select 'Snowflake'
Step 5: Enter the credentials, as created earlier, and click on Create
Create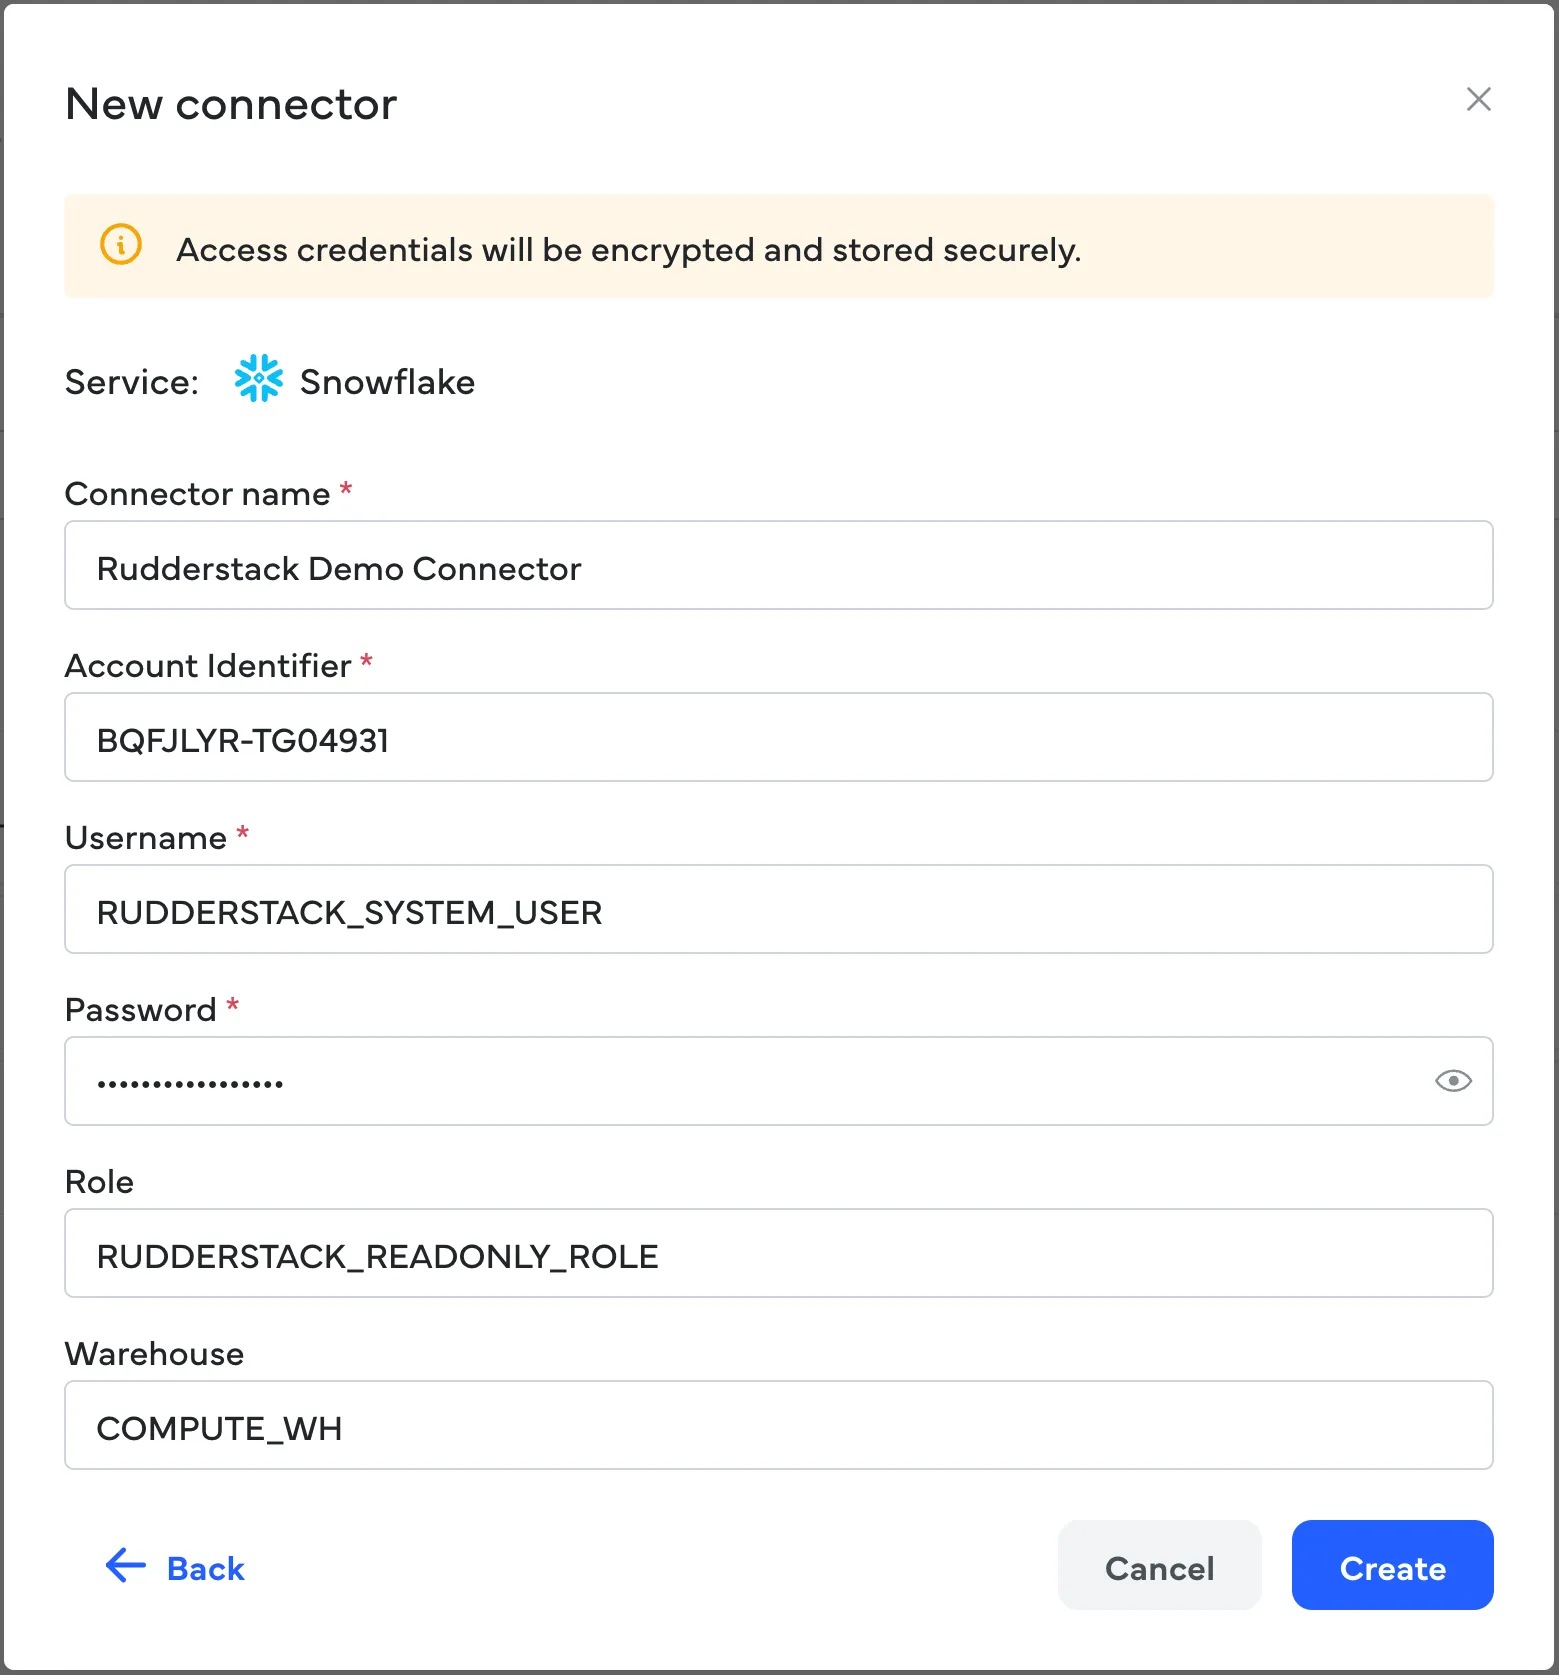
Optionally, you may update Warehouse to use.
Your Snowflake integration is complete! 🎉
This should now be listed in the Connectors tab.
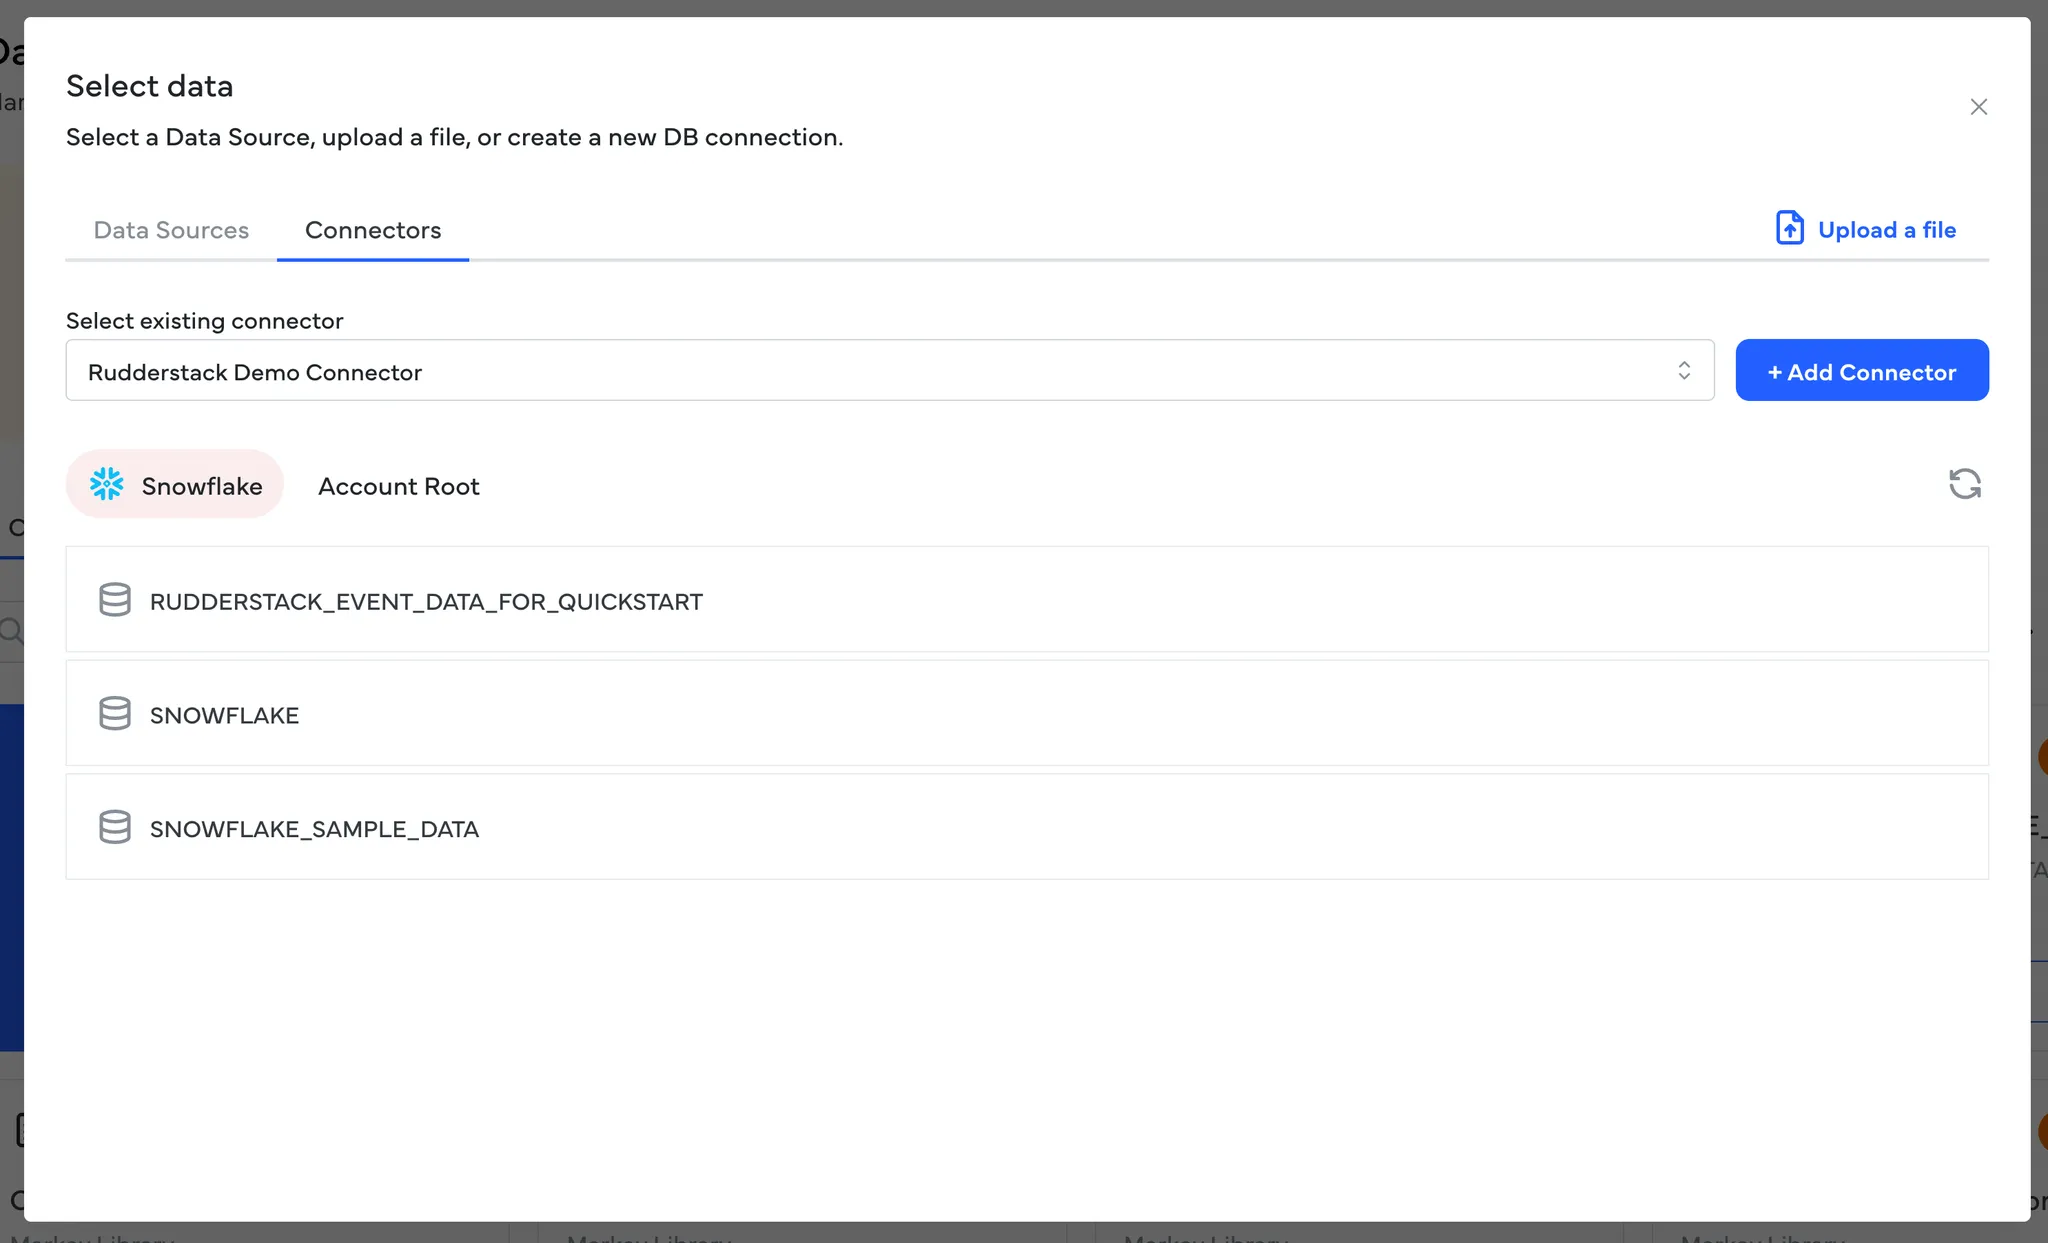
step 6: Select the Snowflake connector and click on Add Resource
Add Resource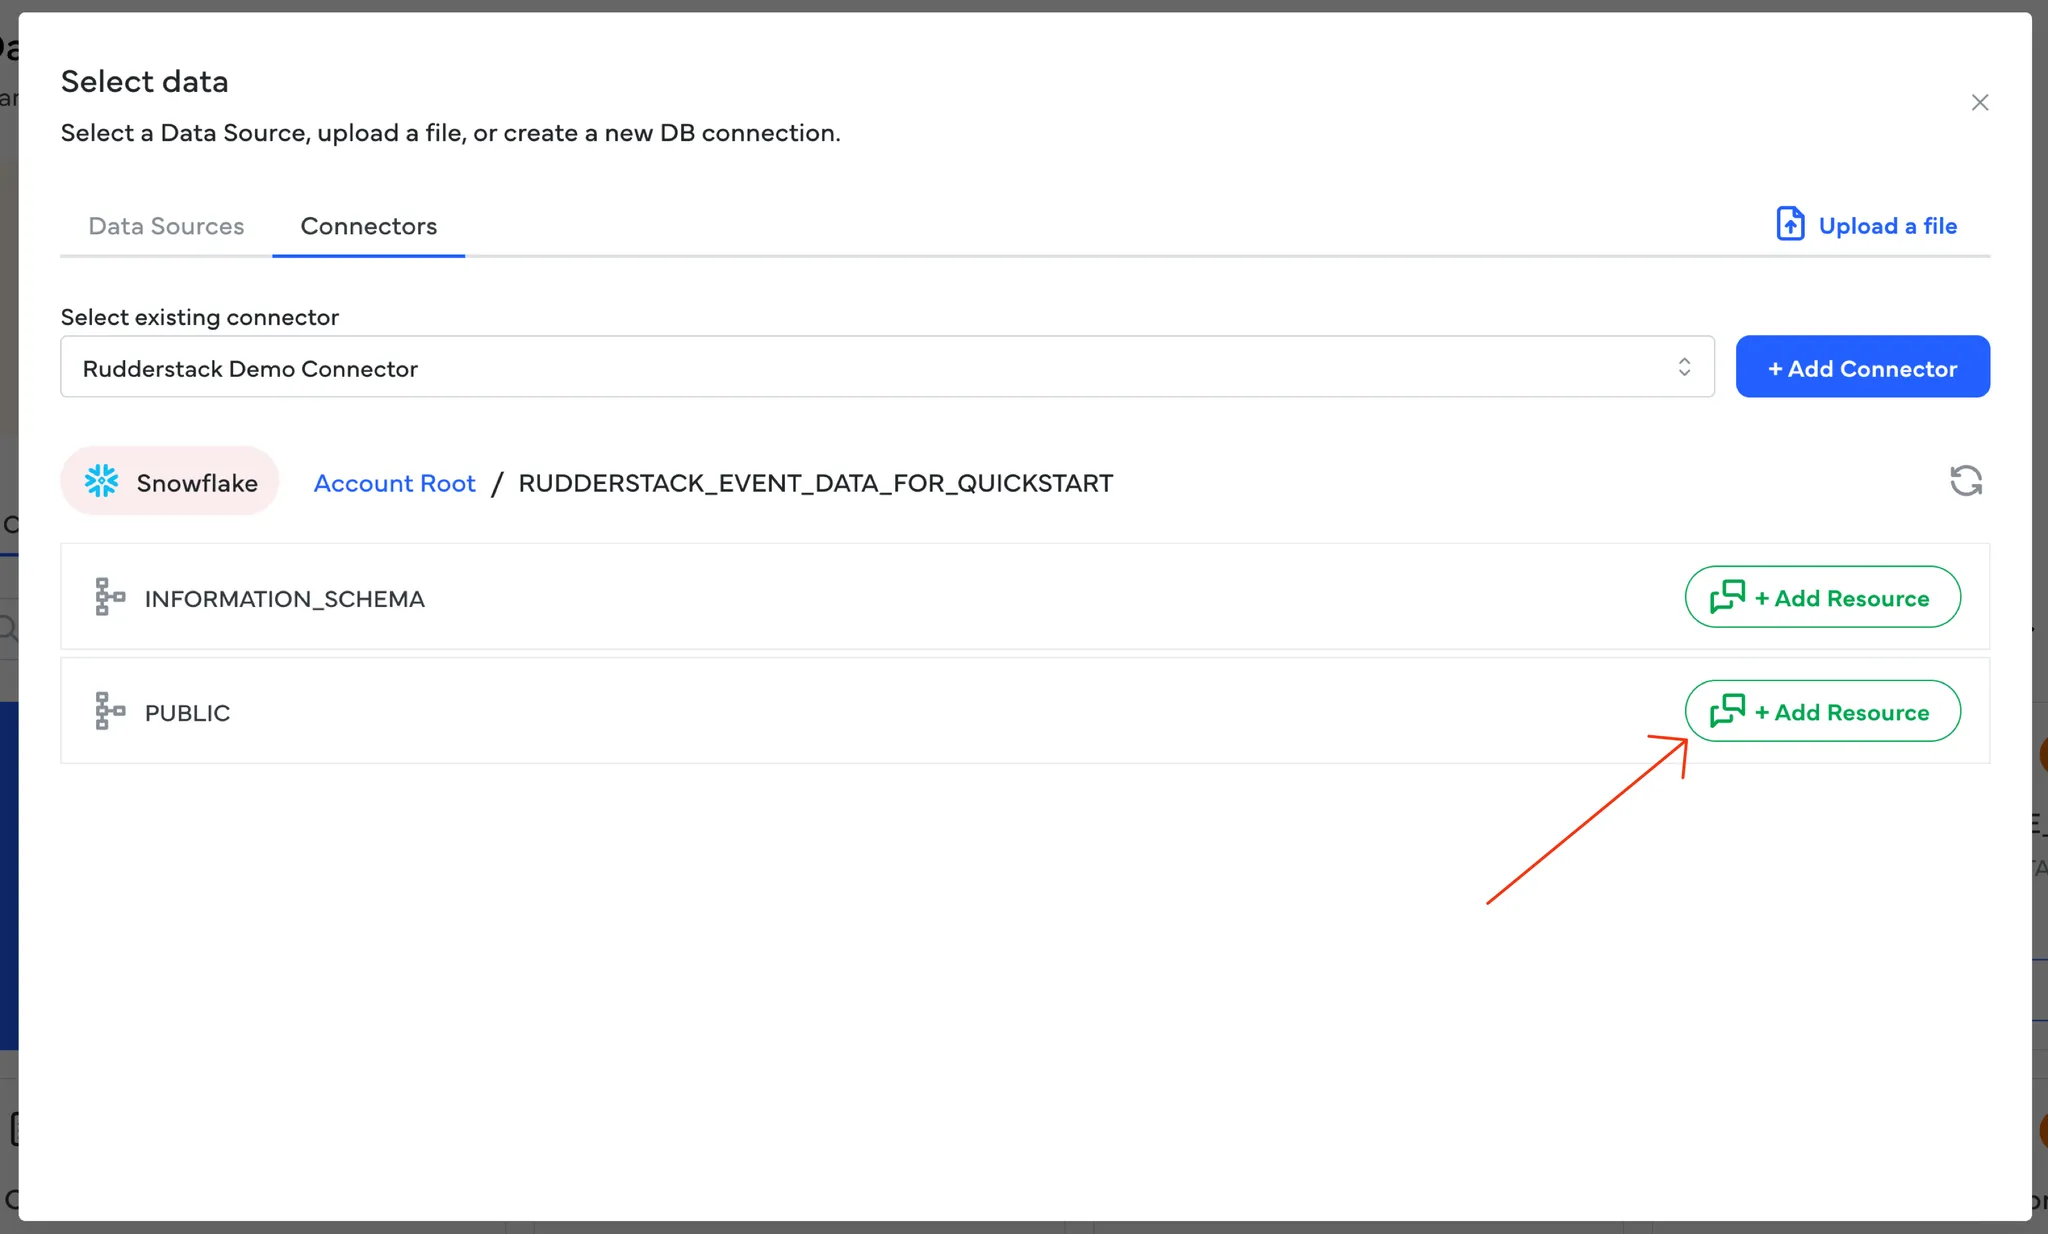
That's it! Data Insights is now connected to Rudderstack. You can start chatting with the data! 🎉
Updated 2 days ago