Create a New Automation
You can create a new flow by either starting with a pre-built template that covers general use cases and customizing it to fit your needs, or building a new automation entirely from scratch to match your exact requirements. It’s all about what works best for you!
Using the templates
This is a quick way to launch automation flows that are already designed for your specific needs.
On the Automation page, click on Build an Automation to get started.
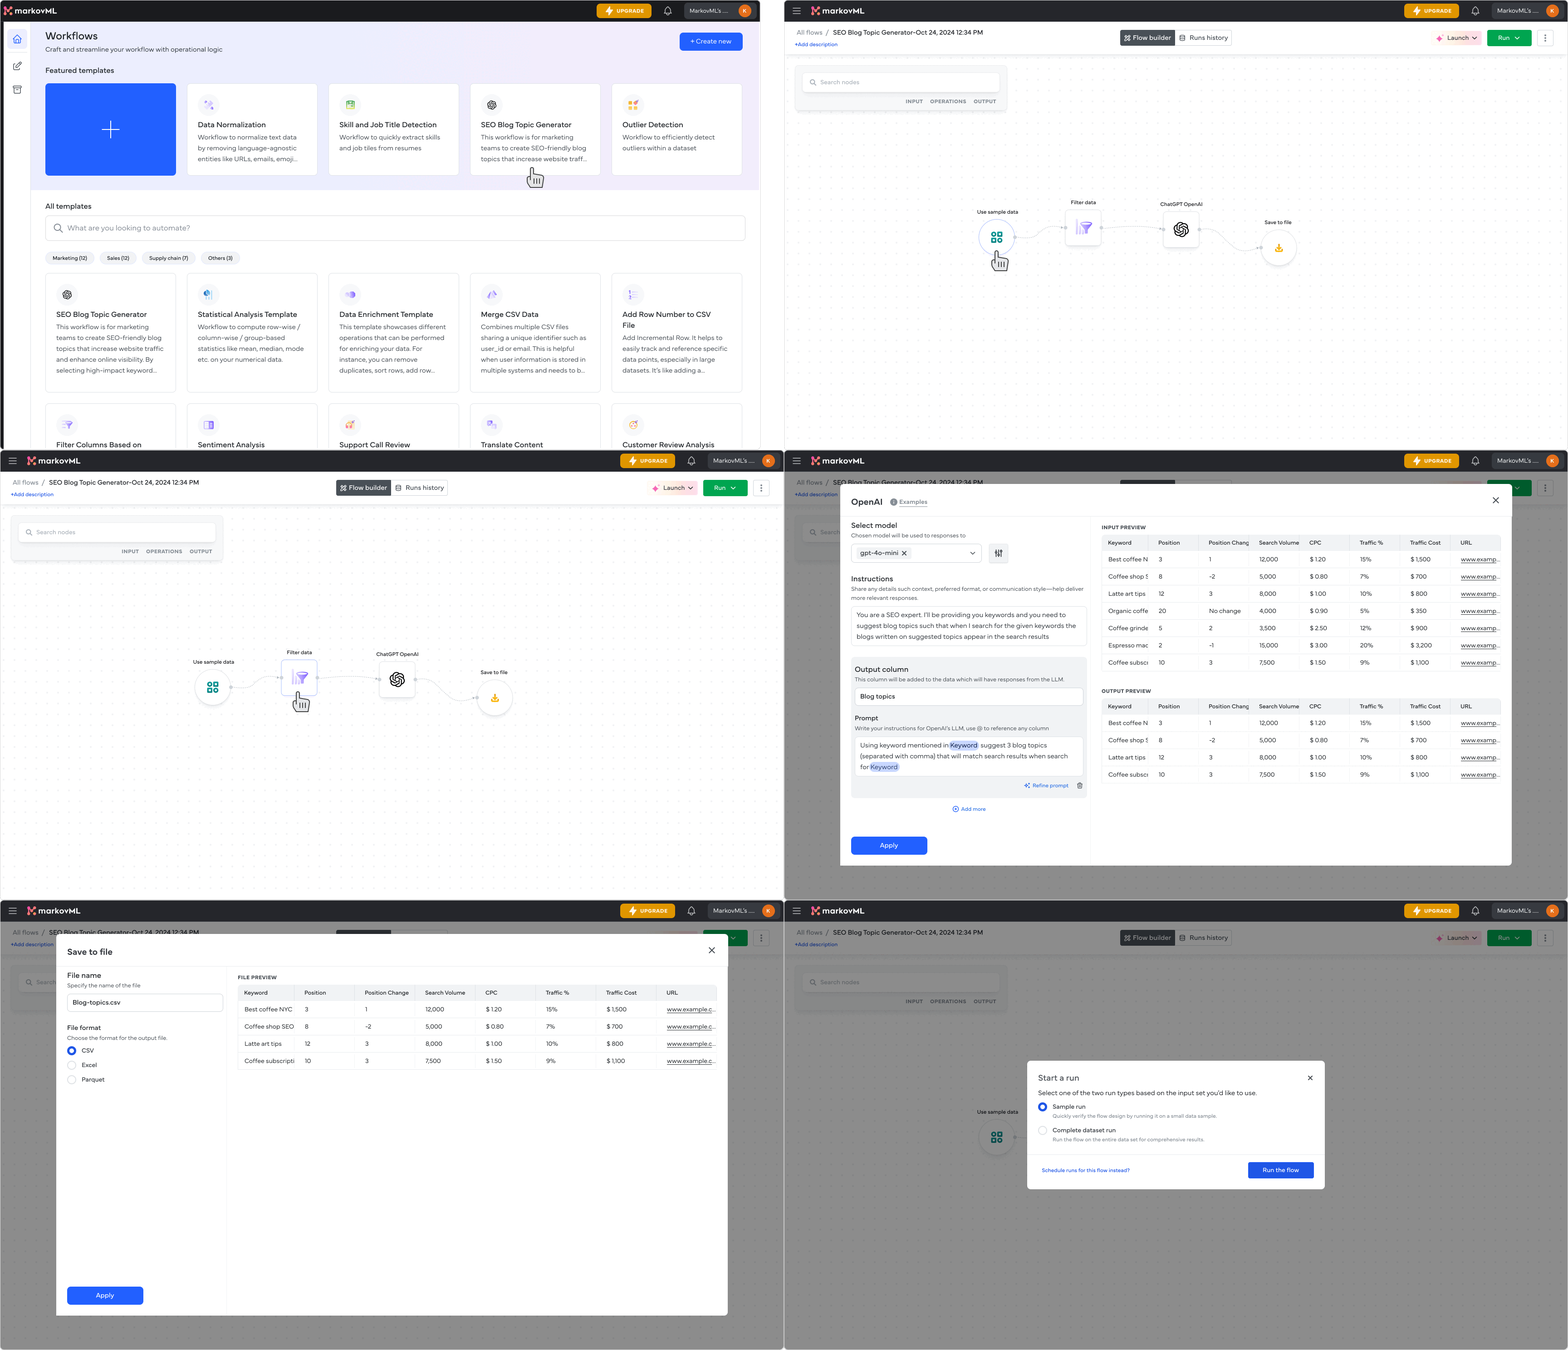
On the Build a New Automation page, you can view a range of templates to choose from. Click on the template that you want to use. You can use the search bar or category filters to find the right template.
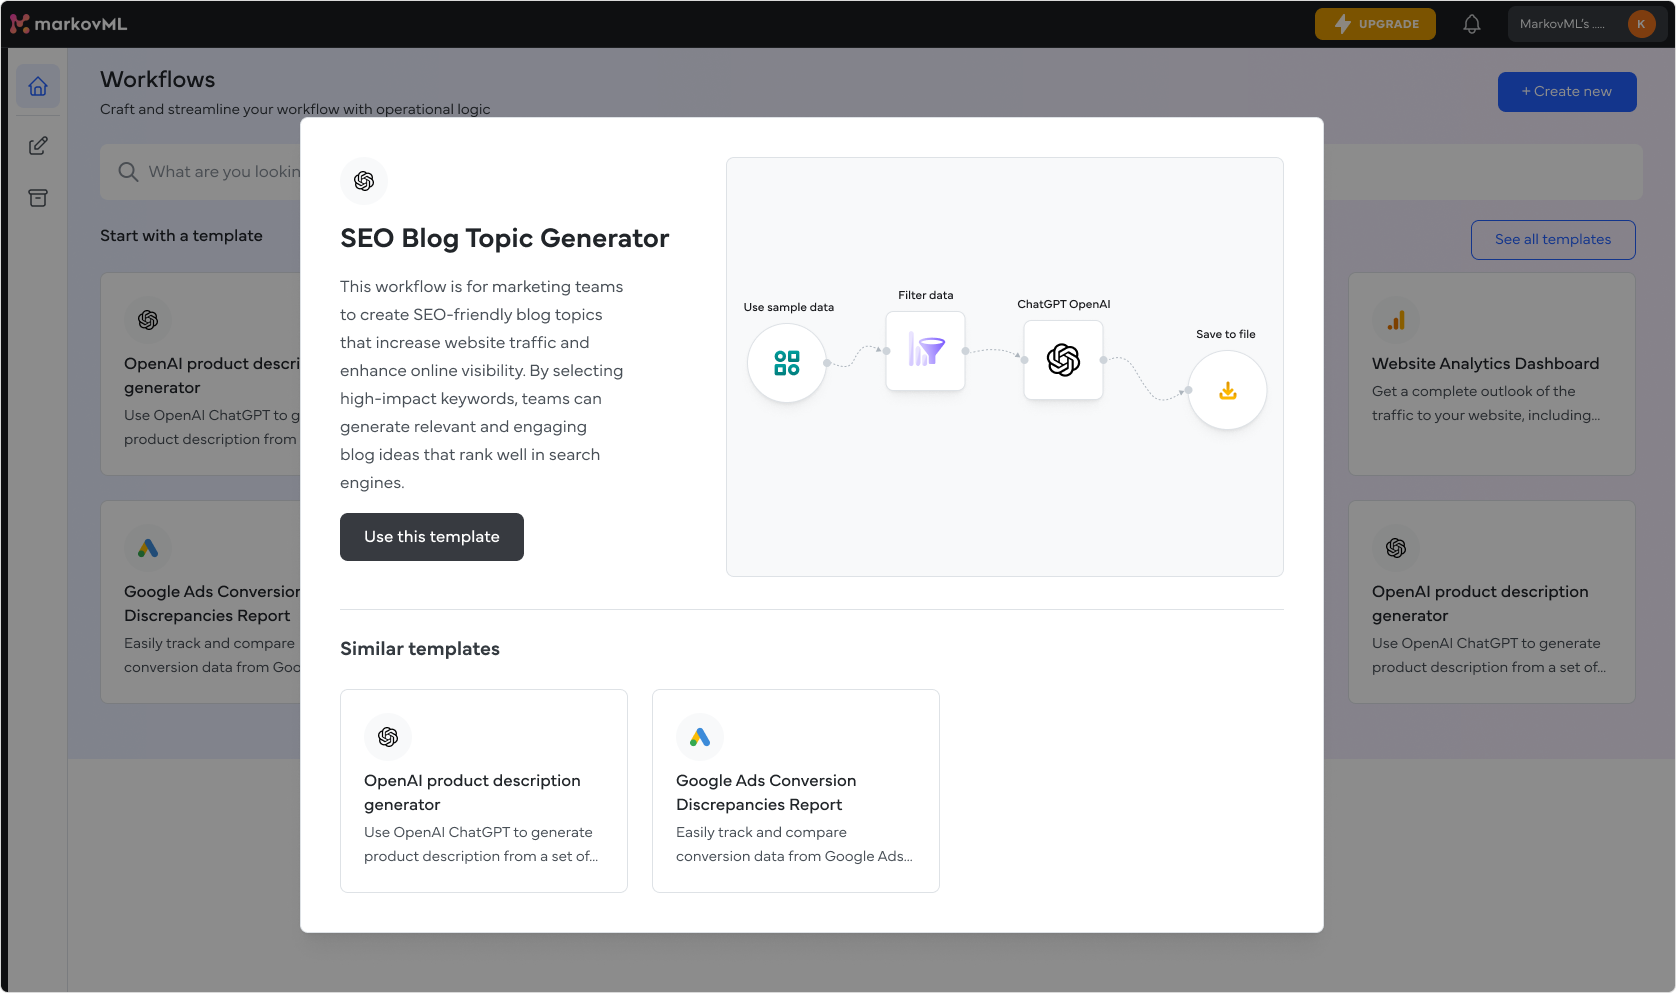
When you click on a template, a pop-up will show a description, the operational flow, and similar templates. If the template looks like a good match, click Use this template to create your flow.

Next, you will be led to the automation builder page, with the pre-configured template and sample inputs. You can use these to quickly run the flow and see the results, to get a feel of how it works.
You can then easily edit the inputs, outputs, or any operations to fit your specific requirements.
For example, you can add your own dataset as an input. This can be a .csv file from your computer or data from sources like AWS S3, PostgreSQL, or Snowflake. Then, choose where you would like the results to be saved—whether it’s an S3 bucket, your computer, or directly within the MarkovML library as shown below.

Note
- You can run and edit the flow for multiple times. You may also check your previous runs history from the Runs History tab on the top.
- Once you have the flow you desire, you can lock the flow using the lock icon on the top. This will prevent others to make any changes to the flow.
Create a Custom Automation from Scratch
On the Automation page, click on Build an Automation to get started.
On the Build a New Automation page, click on Use blank canvas to create an automation from scratch.
This opens a blank flow page where you can set up your flow by choosing the input, operations, and output that suit your needs.

Note
- You can add more than one
operationin the order of execution.- You can use 2 inputs and use the
Join dataoperation to join the input data and perform further operations on it.
Learn how to build a simple automation flow step-by-step in this quick video tutorial.
Updated 4 months ago
