Introduction to Automation
No code drag-and-drop tool to build business automation flows.
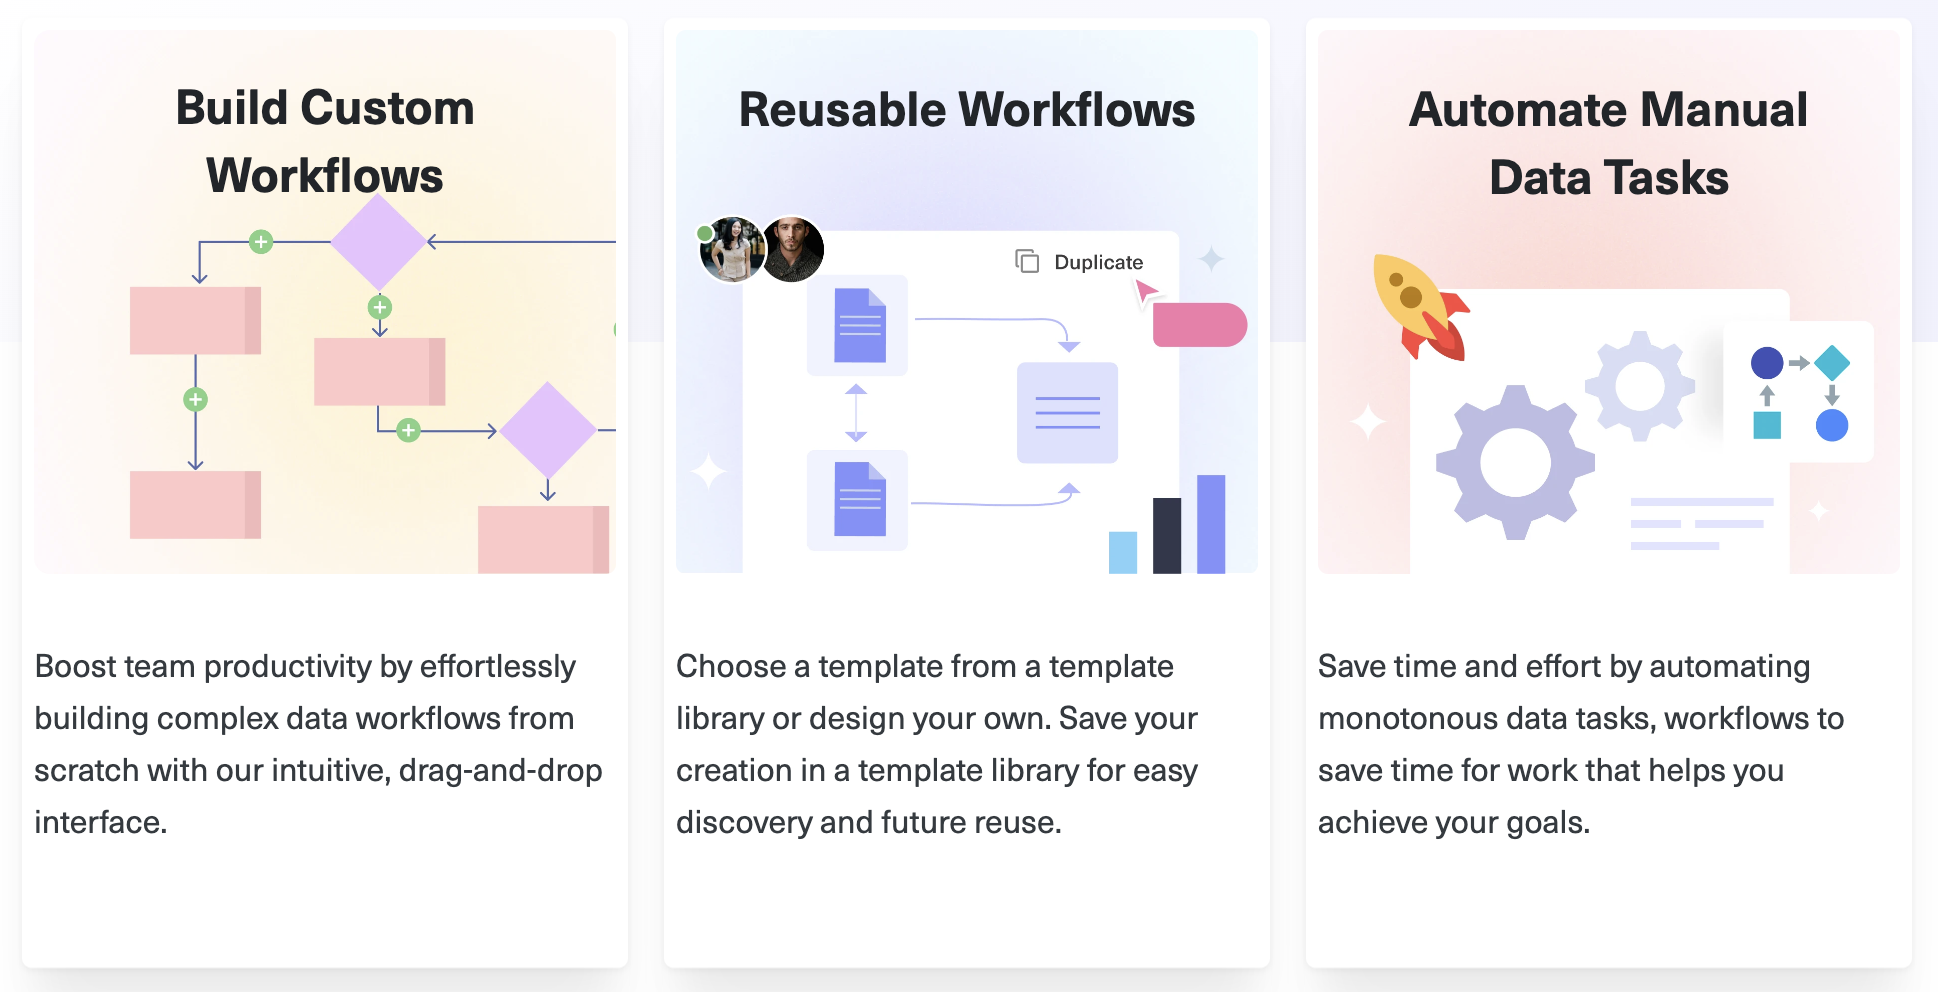
Welcome to MarkovML's Automation! Our no-code drag-and-drop tool lets you easily build machine learning pipeline logic and flows for your business use case. Making it a breeze to automate tedious tasks that eat up your time. With just a few clicks, you can create powerful workflows without writing a single line of code!
MarkovML's Automation is built for everyone—especially business teams—who want to incorporate AI and ML with little or no technical knowledge. You can bring in data from various sources like Snowflakes, PostgreSQL, or local storage. With pre-trained models, you can perform tasks such as data filtering, file parsing, even web scraping, and more!
Whether you are generating SEO blog topics, need data enrichment templates, or want to normalize your data, we have templates to get you started.
How Automation Works
Once you create a automation, you will enter the Flow Builder where you can design your flows. You can also switch to the Runs History tab to see a full history of all your runs.

NoteWhen you are done building the flow your desire, you can lock it to prevent any changes. For more details, see how to lock your automation flow.
1. Build your flow
The flow builder allows you to build your flow using inputs, operations, and outputs. Here’s how they work together:
-
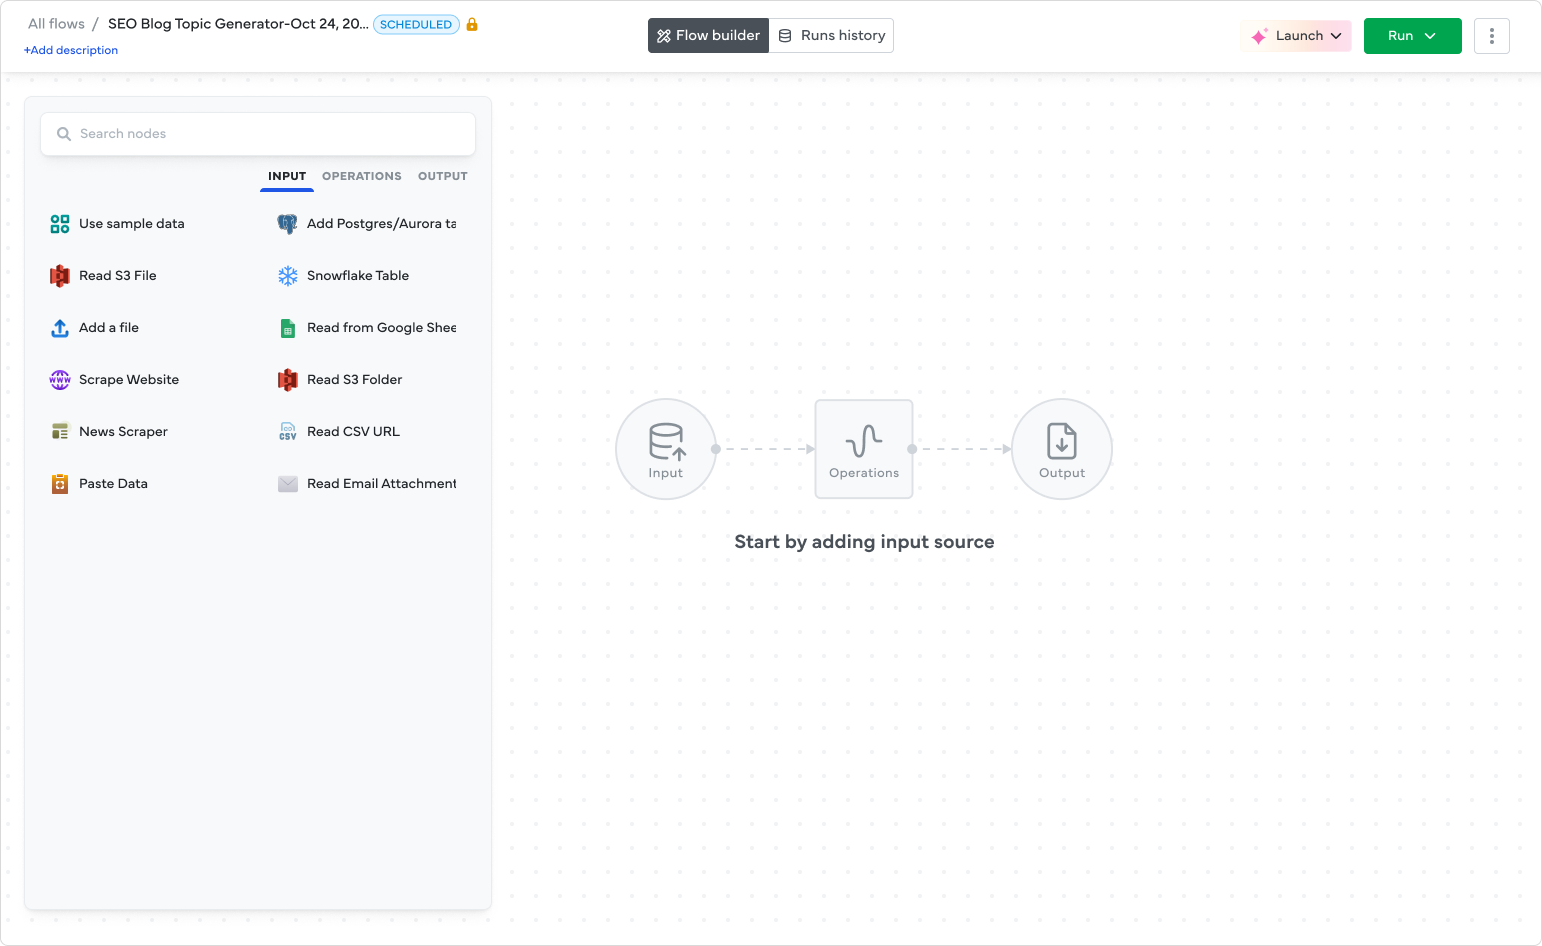
Inputs: This is where your data comes from. You can choose from various options to add data to the flow, like uploading files from your device, connecting to online databases (e.g., Snowflake, PostgreSQL, etc), pasting data, and more. Just pick the input that works best for what you want to do.
-
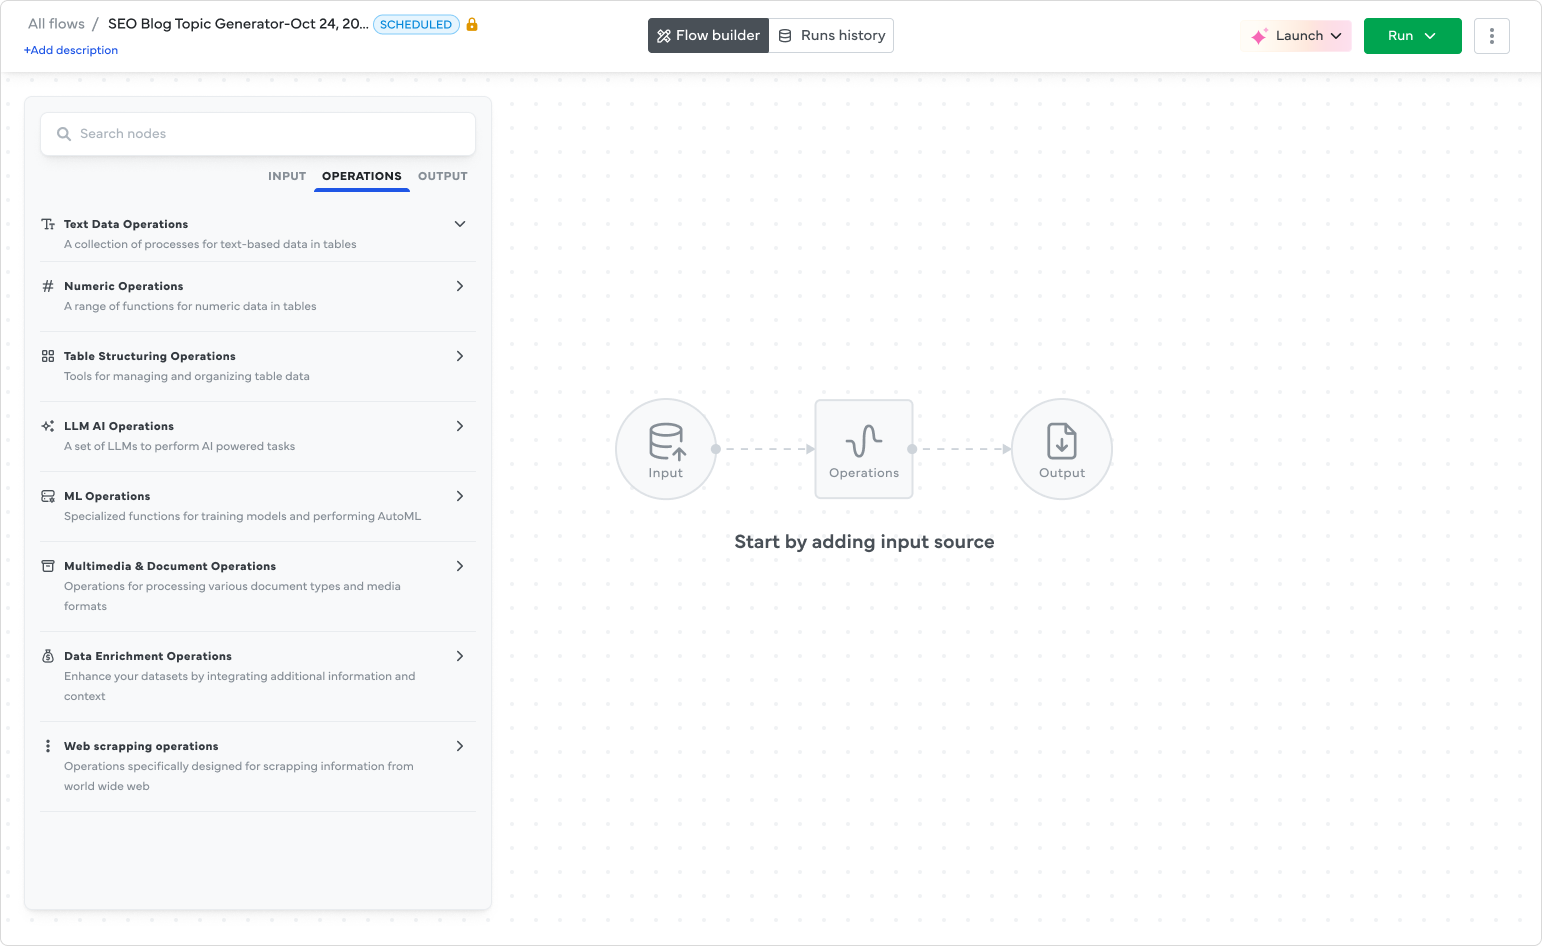
Operations: This is where the magic happens! You can choose from pre-built operations to process your data, like filtering or parsing files. You can also run advanced operations like AutoML training, LLMs operations like OpenAi & Google Gemini, document processing, web scraping, and more.
 Note
NoteWhile you can’t create custom processes yet, we offer plenty of built-in choices to help you get started. Check the image below.
-
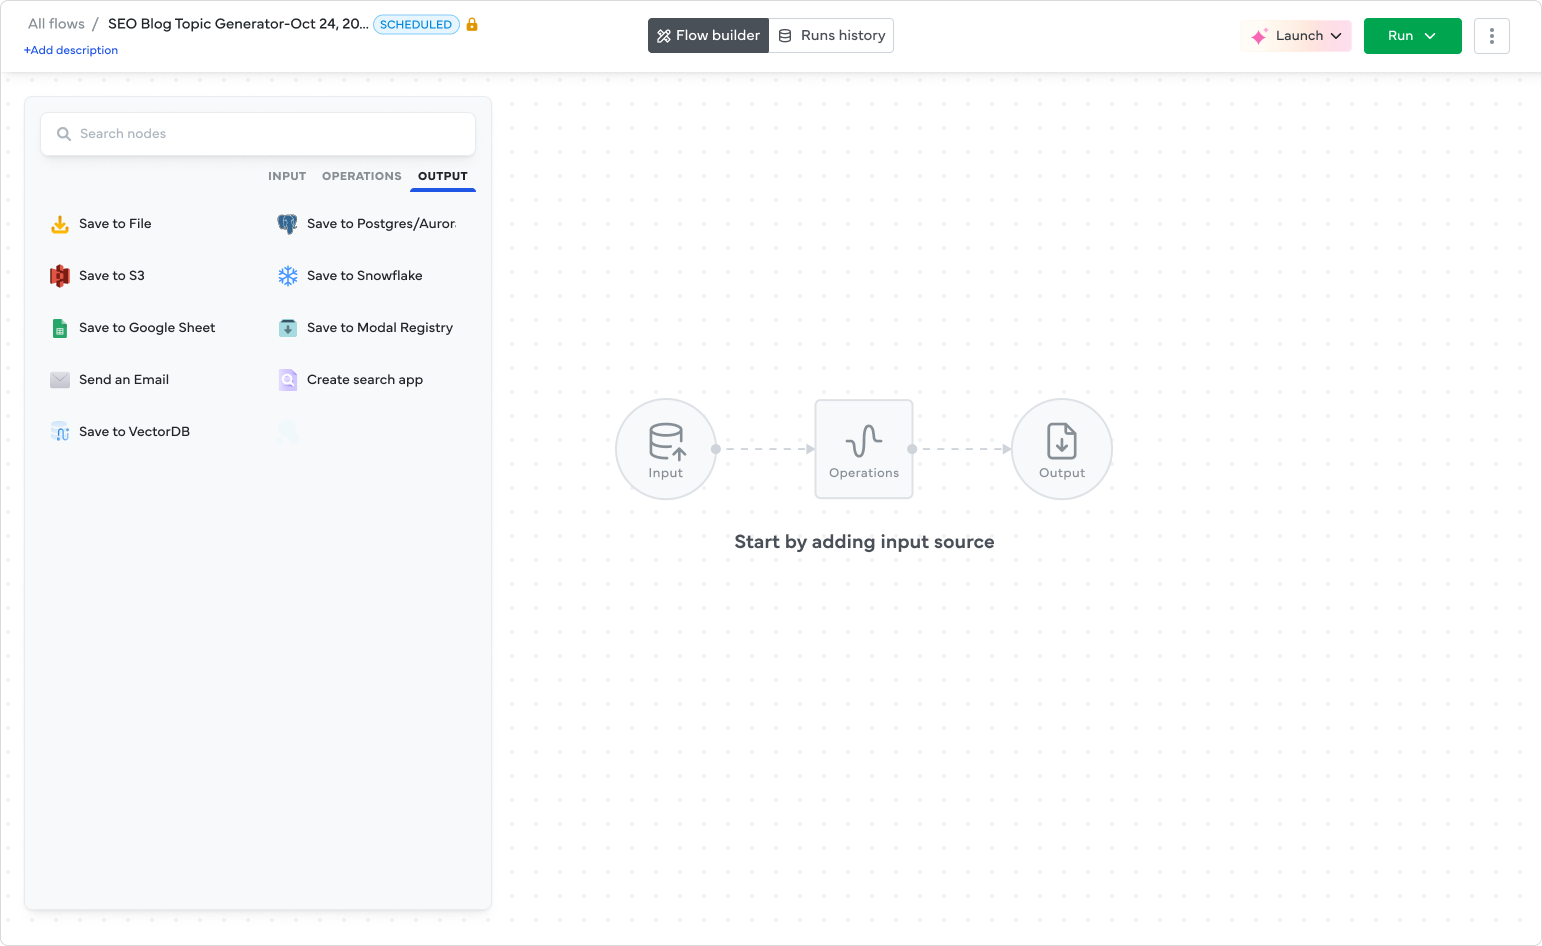
Outputs: This is where your processed data ends up. After your flow runs, you can decide where you want to save the results, whether it's a file, a database, or another location. It's your choice! Just pick the place that makes sense for your next step.
NoteWe currently do not support creating custom operations. You must use the operations available in the flow builder.
2. Check Runs History
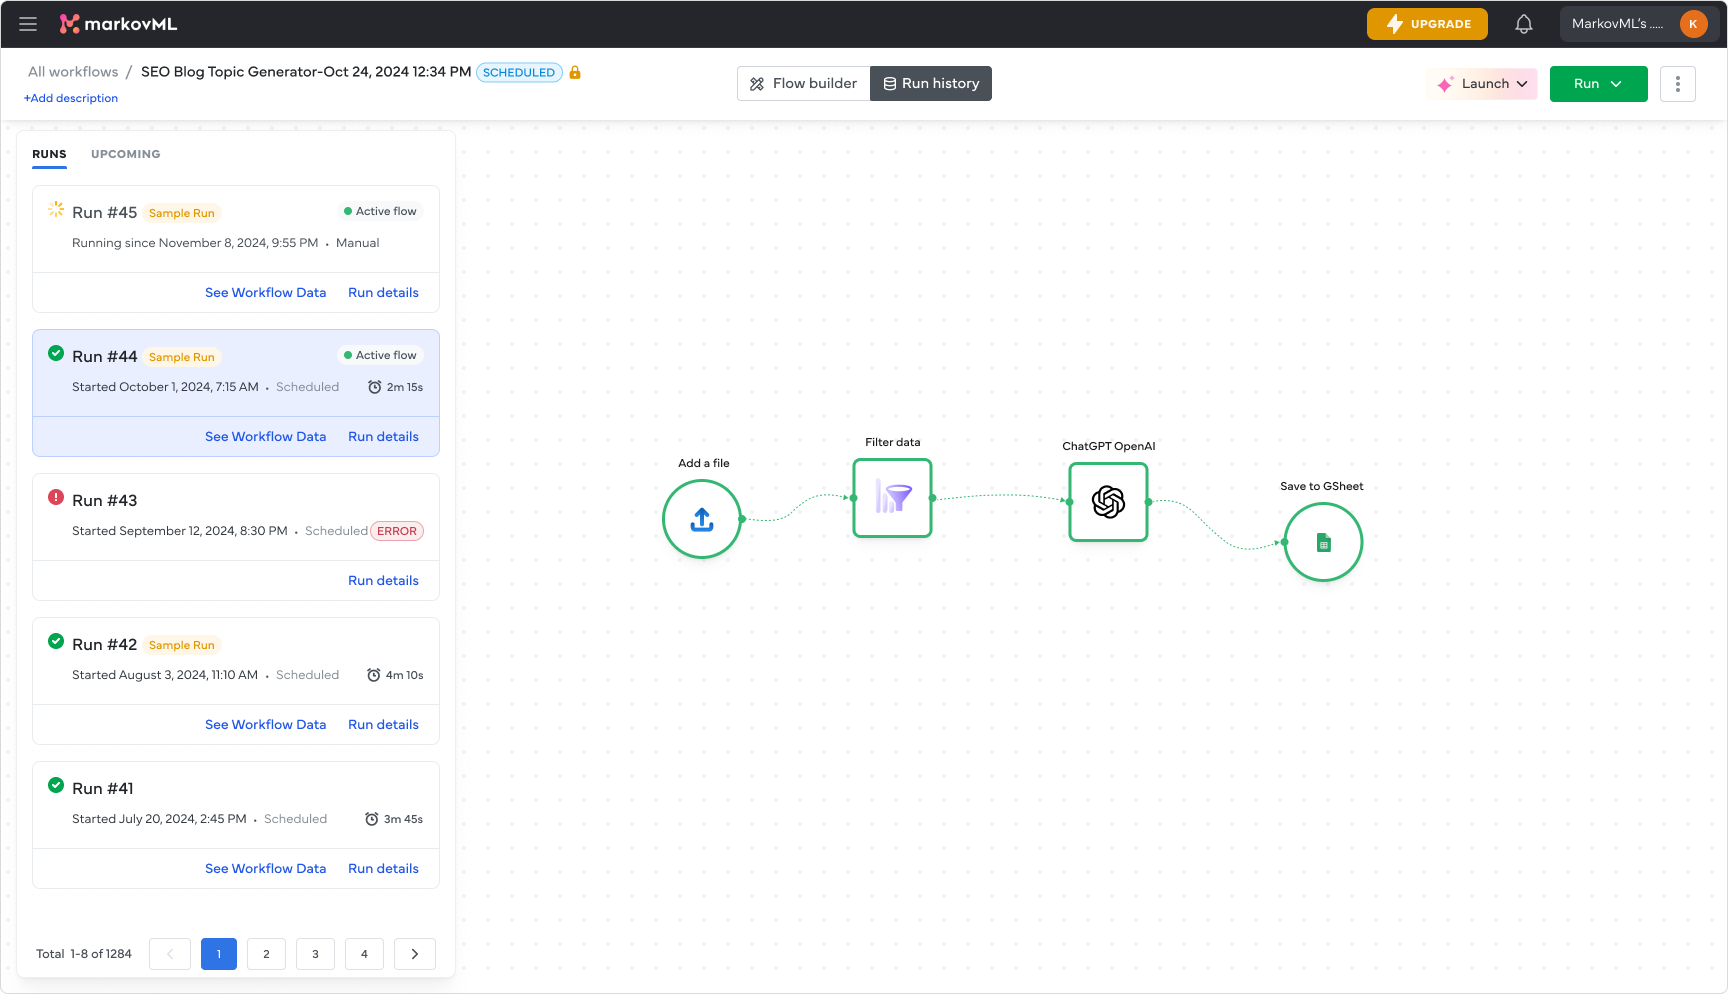
Once you have finished building your flow, you can check your past runs by clicking on the Runs History tab at the top. This will show you a list of all the times you’ve run the flow, including details like runtime, date, flow status, run details, and the data used. It’s a great way to review your previous runs, compare results, and figure out what works best.
Getting started
Creating an automation flow is simple: start with a template or build your own by picking the operations you need. Once you are happy with it, you can run multiple times and lock the best flow for regular use. And don’t worry—you can create your own templates for your team to reuse!
You can also schedule your automation to run automatically, freeing up your time for the things that really matter. Start automating today and see how easy it is to boost your productivity with AI!
Updated 4 months ago
